Satan V4 R1 Shock Adapter

Anyone, anywhere..... I'm looking to buy one of Satan's V4 Shock Adapter as soon as I can. If you have one and are willing to part with it, please PM me for payment. I have messaged him and it winds up that the next run won't be until May or June. I really don't want to wait that long unless there's no other alternative so if you have one that your willing to sell please let me know. Thanks, Billy.

This is the one that works with the 07'/08' R1 Shock, the Version 4.
 
You are in for a treat Sir. A good shock really changes this bike. Then once you get the shock the fork will feel terrible so you'll hunt for an R1 frontend. :) The good thing is the folks on the FZ8 site will snap up your old parts and just about pay for your new R1 parts. :) Good suspension is so nice.
 
I hear you guys. I wasn't at all planning on doing this mod but after I scored an 08' rear in beautiful shape and a Race Tech spring made for my weight I said what the hell. The problem is that the shock and spring will be here next week and then I'll have to stare at them until May or June. Ugh! Unless of course I can find the adapter sooner.
 
I've been staring at my R1 shock since November... its painful. Im actually in the process of making my own shock adapter. I drew it up a few weekends ago on CAD and im going to run it through the CNC as soon as there is some downtime.
 
I've been staring at my R1 shock since November... its painful. Im actually in the process of making my own shock adapter. I drew it up a few weekends ago on CAD and im going to run it through the CNC as soon as there is some downtime.

I feel your pain brother! I'm sure when next Tuesday gets here and I have my shock sitting in front of me I will feel even worse.
 
The 08' Shock came the other day and the new Race Tech Spring will be here tomorrow. I had to remove the old spring from the unit so on to YouTube I went in search of easy removal procedures. I came across one guy who used wood plates and rods to remove the spring pretty darn easy so working in a lumberyard I have access to wood and hardware. I came up with a jig made from 5/4 Oak, a piece of 3/4 Ipe, 1/2" x 12" carraige bolts, and a 6" corner brace. My buddy Sal followed my plans and drilled out some holes and it was done.

Here is the shock mounted in the jig.
IMG_20150416_175018_zpscv597bkv.jpg


The corner brace was cut in half and mounted below the top plate. It sits atop the highest rung of the spring and compresses it as you tighten the bolts.
IMG_20150416_175043_zpsrnzpxqlb.jpg


It took about one minute to safely compress the spring low enough for the retainer to be removed.
IMG_20150416_175029_zpsoim7jtsn.jpg


Once the retainer was removed I just loosened the nuts and off came the spring.
IMG_20150416_180241_zps8tylswot.jpg


I cleaned up the shock in preparation for the Race Tech Spring to be installed tomorrow afternoon. Total cost for the jig.......Zero! Nice!
IMG_20150416_181024_zpsvlntlmx3.jpg


I will post pics tomorrow of the installation of the new spring. Only difference is that I will wrap the corner braces with material as to not mar the new spring.
 
Fed Ex made me sweat it out until almost closing time today! The Race Tech Spring got there just before 4pm. I also got my M-Factory Front Fork Sliders as well. So I ran home and got started re-installing the new spring on the R1 Shock.

This time I removed the braces and wrapped them in material because I didn't want to mar the new spring's finish.
IMG_20150417_190105_zpsrsnminck.jpg


I got the spring mounted in place on the shock and re-assembled the home made jig.
IMG_20150417_174537_zpsurrlbpvb.jpg


Because the new spring was much stiffer than the stock one it took a bit more clamping force to lower the spring enough to install the retainer. It took about 5 or 10 minutes total to lower it enough to set the retainer in place but once on, it was just a matter of loosening the nuts.
IMG_20150417_185536_zpsdy7wqww3.jpg


IMG_20150417_185707_zps03avlmbt.jpg


Once the jig was removed I noticed a crack in the top plate of the 5/4 Oak. Boy!, I was lucky to have gotten the spring retainer on without the Oak board letting go!
IMG_20150417_190128_zps97mogbhy.jpg


Now I just need to wait for the Adapter to arrive shortly to install the unit on the bike. I also need to look up the factory settings on the 08' R1 Shock in order to have a starting point. Next time I'm out at Brian's I'll have him help me set the Sag. Can't wait to feel the difference with a spring more in tune to my weight.


Oh, and here is a shot of the fork slider that came. I like the gold accent to go with the new wheels.
IMG_20150416_131111_zpsfbj4rtde.jpg


Next up, the shock installed!
 
Billy you'll love it. It's amazing the difference a good shock makes. They respond quicker to bumps, they more comfortable and the whole bike feels planted. Now start shopping for R1 forks as the front end will feel terrible.
 
Congrats! If possible, take a short ride just before swapping the shocks. It will make the difference that much more pleasing!

Thanks Mike. I just may do that! I have to mark where my headlights are pointed with the stock shock anyways first so I'll take a quick spin first before changing it over. I am currently looking for info on the stock settings on the R1 shock so I can set it up at factory settings first and then working on fine tuning from there. I won't be out to my buddy's house for two weeks at which point I'll set up my sag.
 
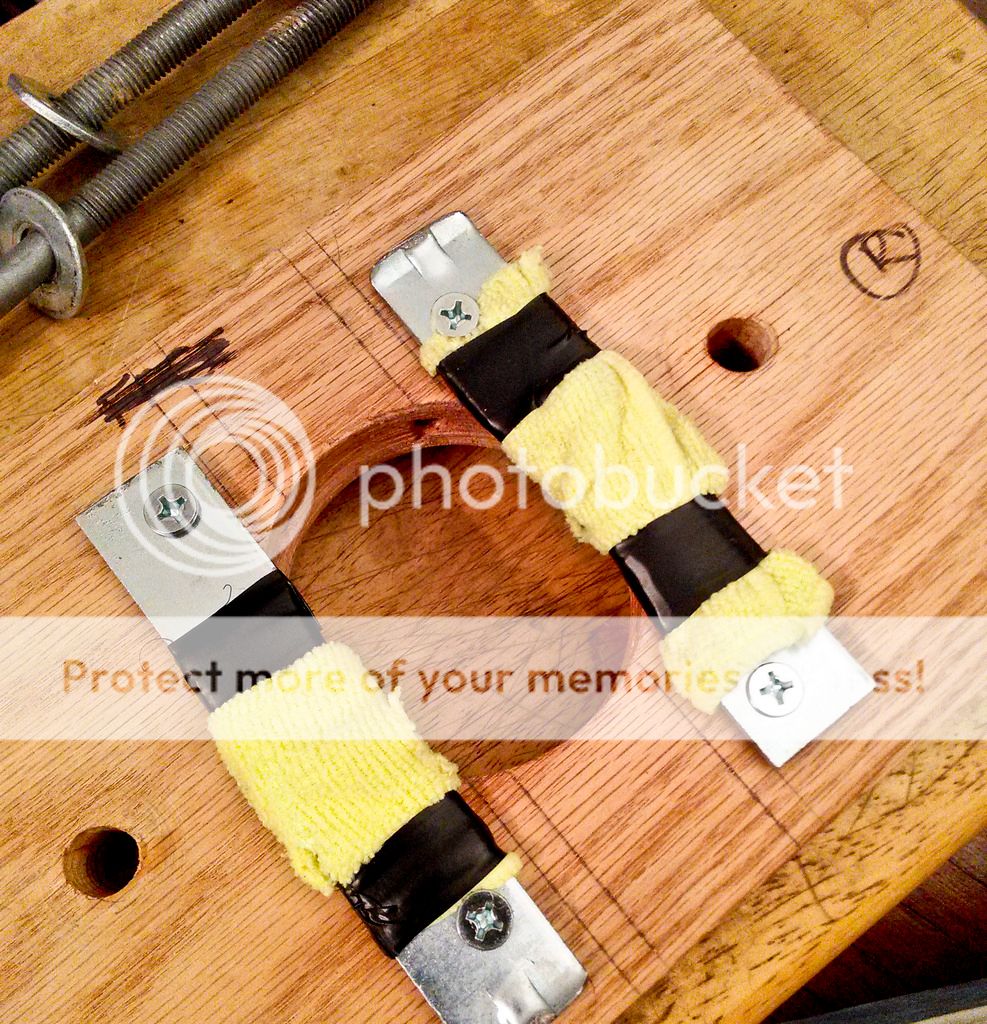
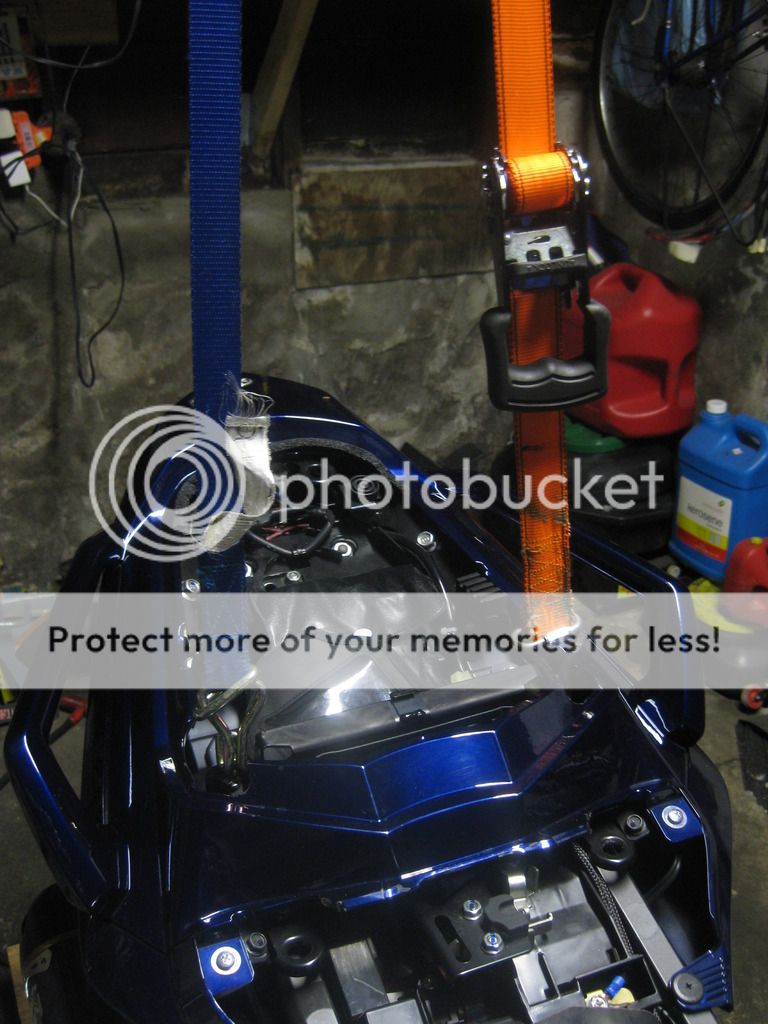
Okay, so here it goes. I got home as quick as I could and jumped right into the garage. Total swap time including setup and cleanup was 1 hour and 20 minutes. Everything went super smooth. The first thing I did was throw two ratchet straps over the rafter and hooked each end to the tail of the bike and snugged them up. Then I stuck a wooden wedge under the rear wheel while the bike was on the center stand. This assures that the tail doesn't collapse when the rear shock is removed.

Ratchet straps in place.
IMG_1293_zpsc12aiojd.jpg


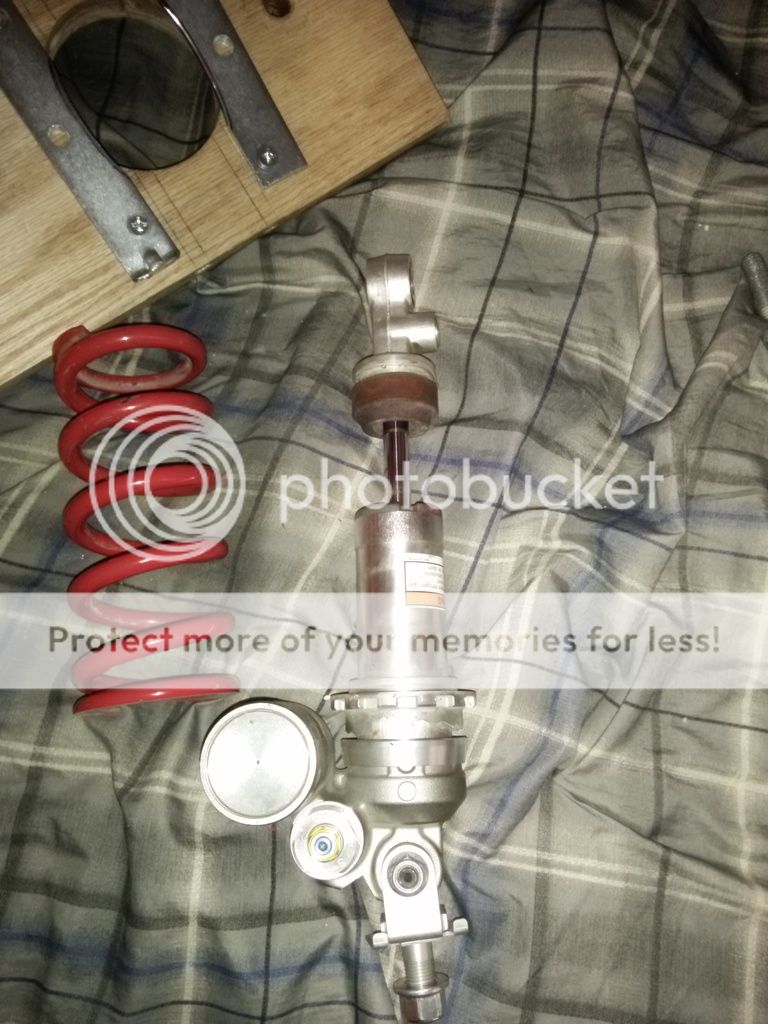
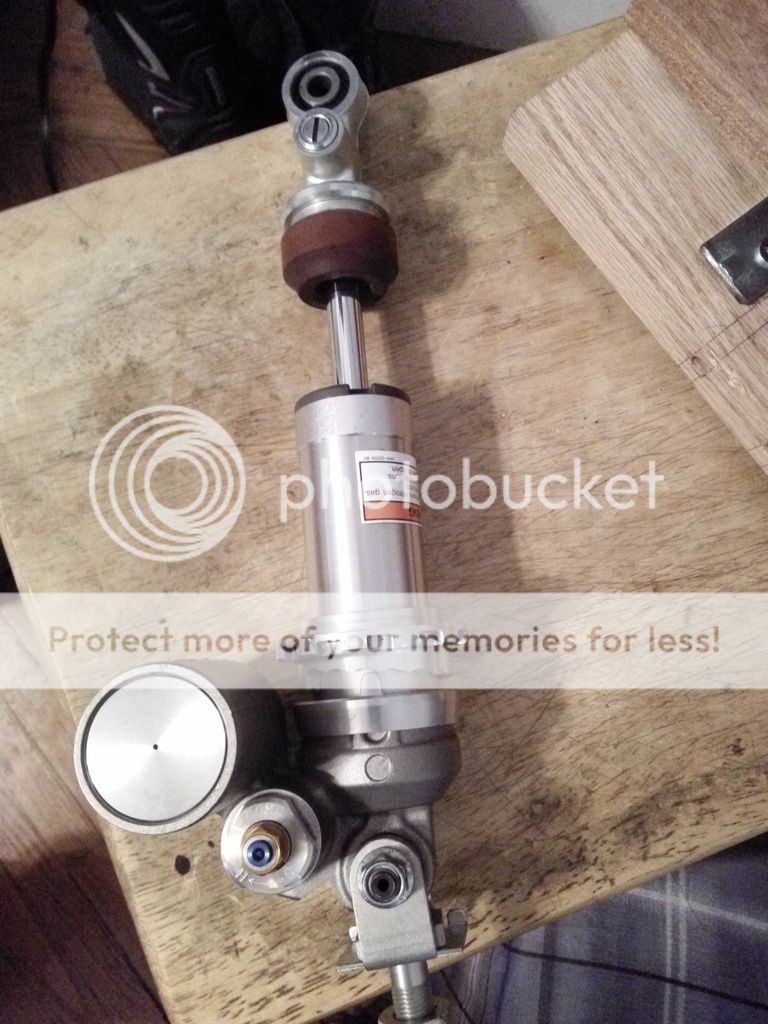
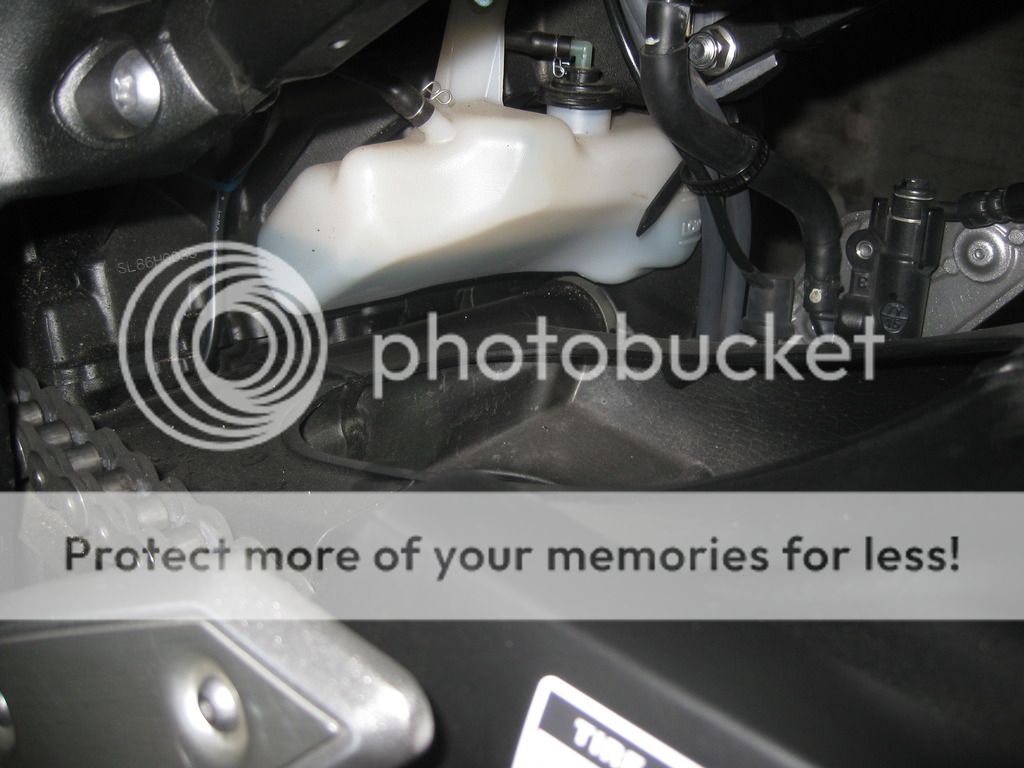
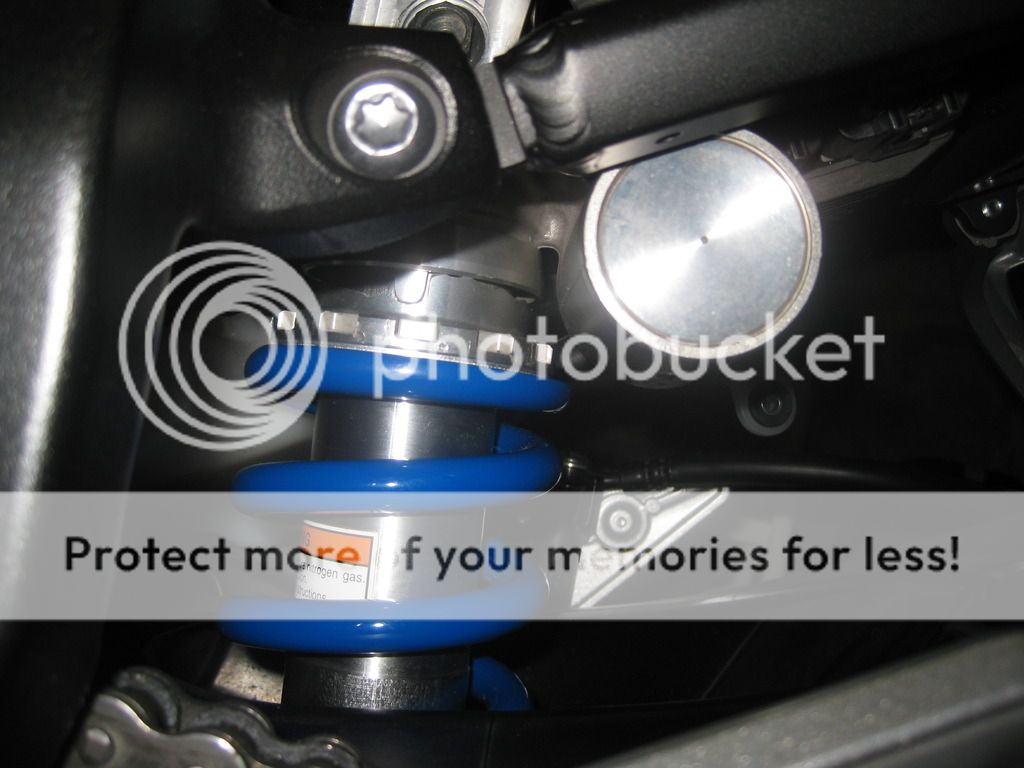
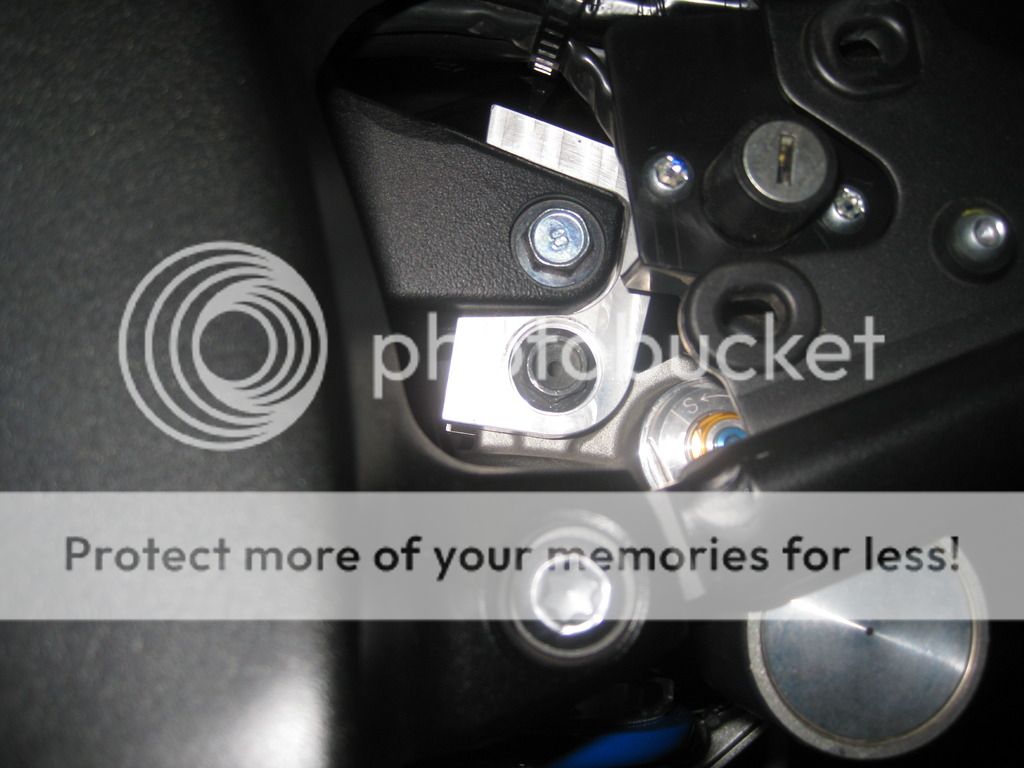
Then I removed the side covers and detached the rear brake reservoir and moved it to the side, exposing the top bolt. I then removed the top bolt using a 14mm socket on each side of the shock.

IMG_1287_zps55cnd0u7.jpg


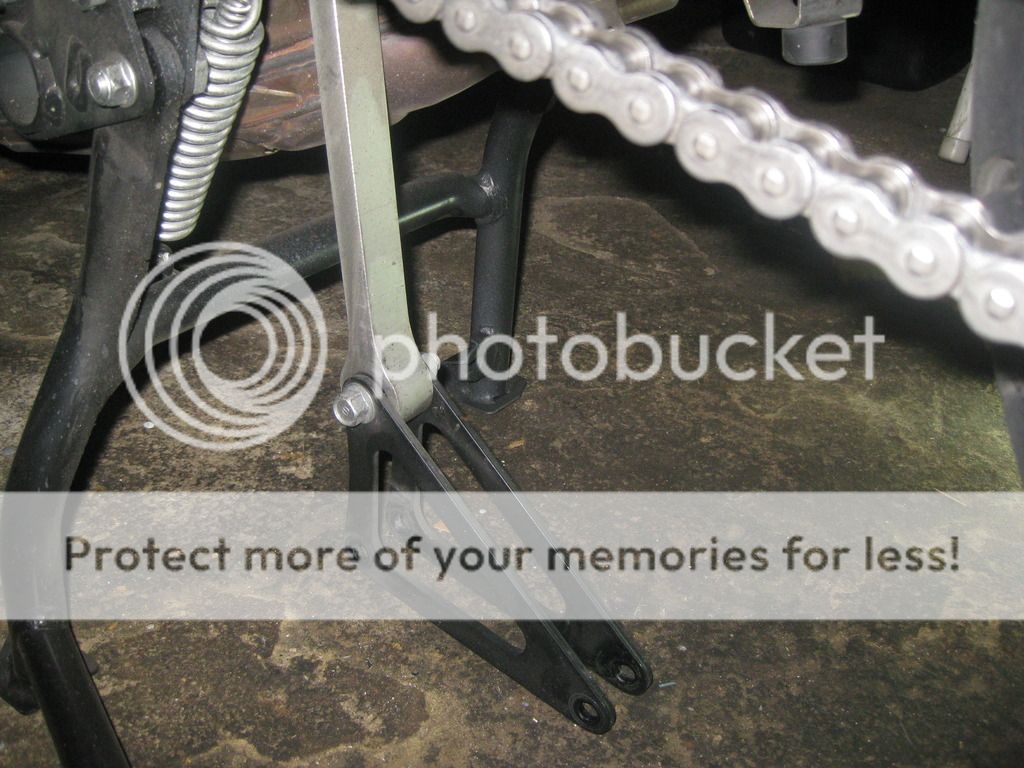
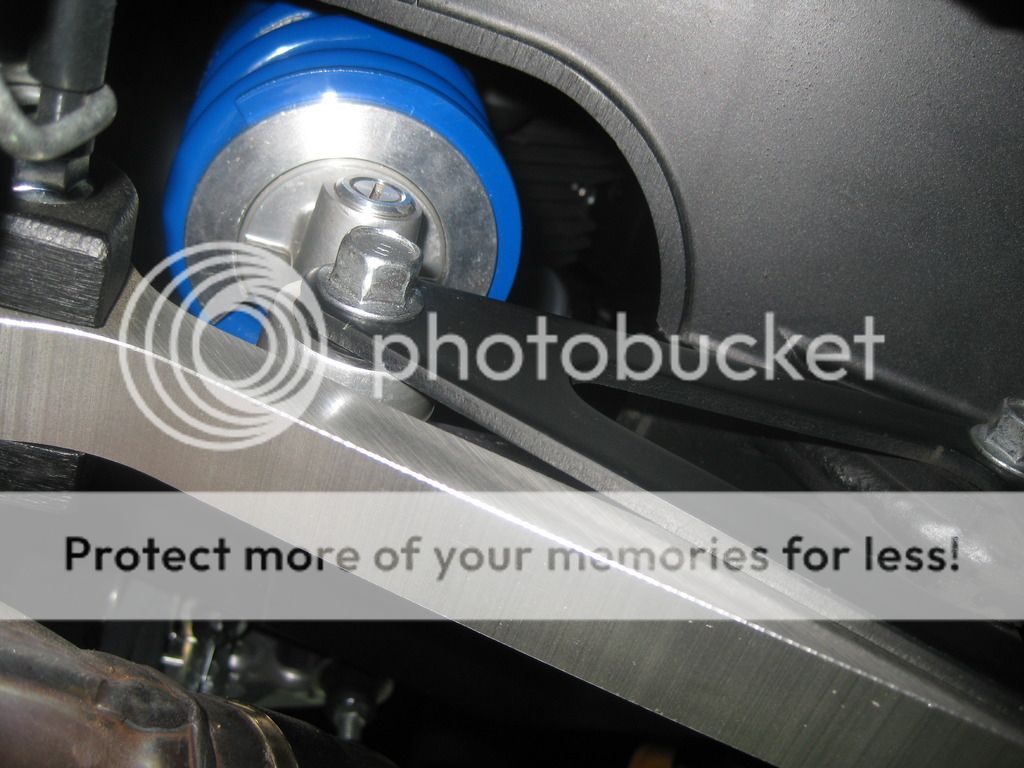
Next was the lower bolt and the shock was loose and resting atop the dog bone.
IMG_1288_zpsrxqjokkz.jpg


Then I just removed the lower dog bone bolt and removed the shock easily out the bottom.
IMG_1291_zpsvfyvcssv.jpg


IMG_1289_zpsu7bsw4lh.jpg


IMG_1290_zpsbrsnoms9.jpg


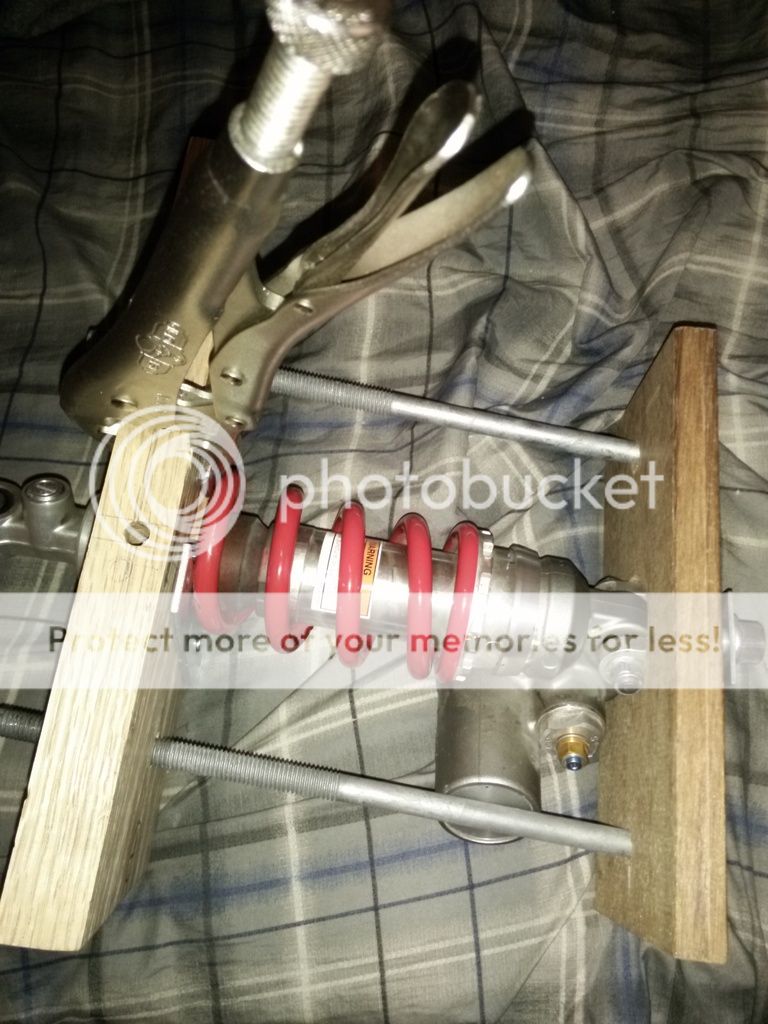
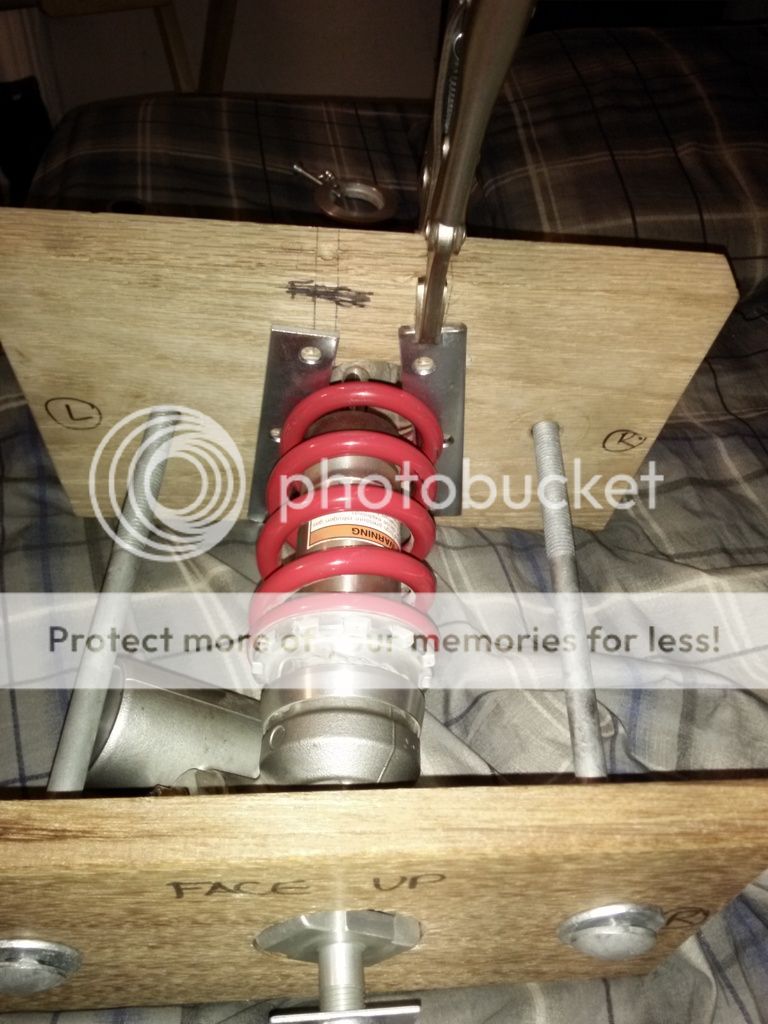
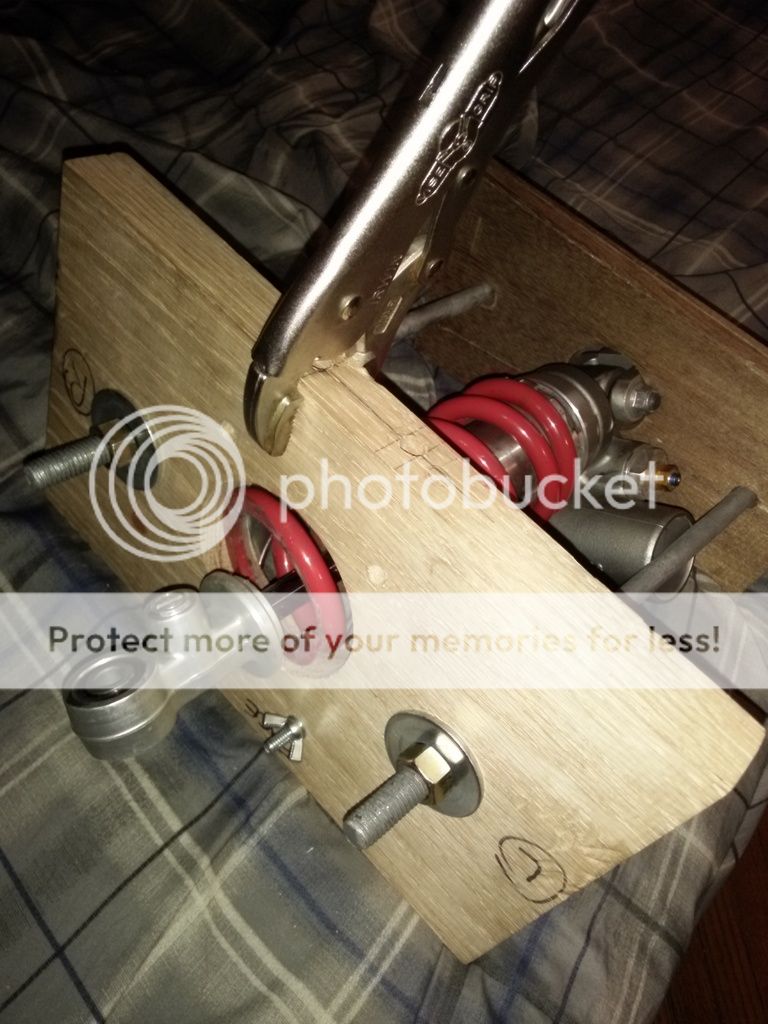
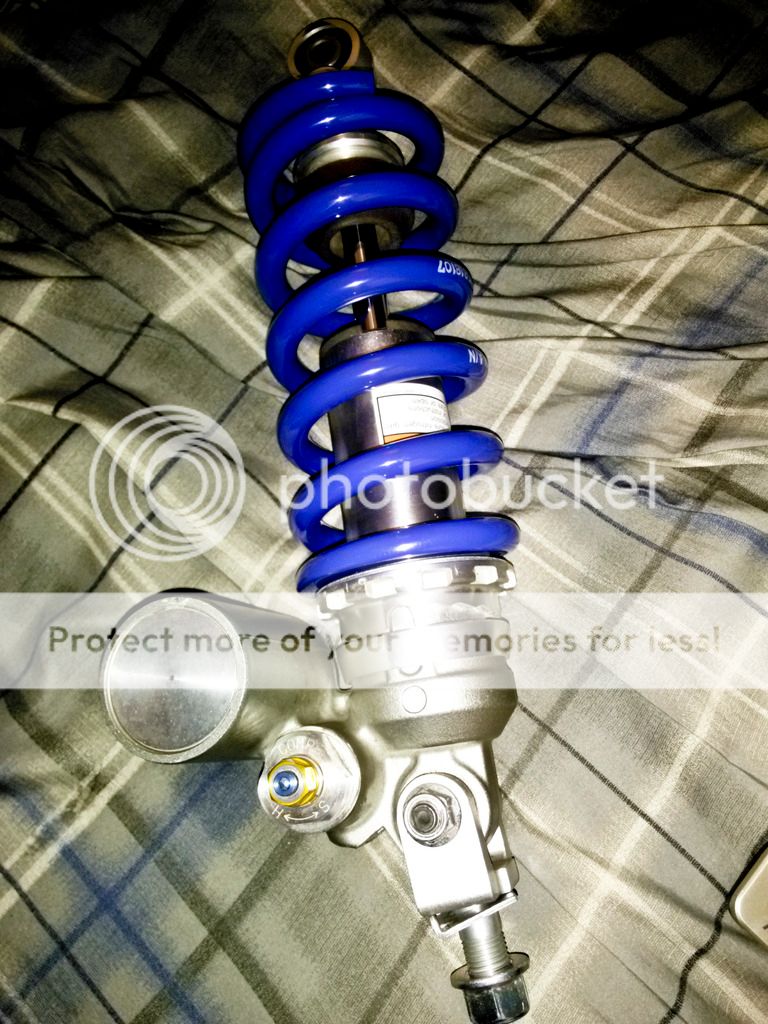
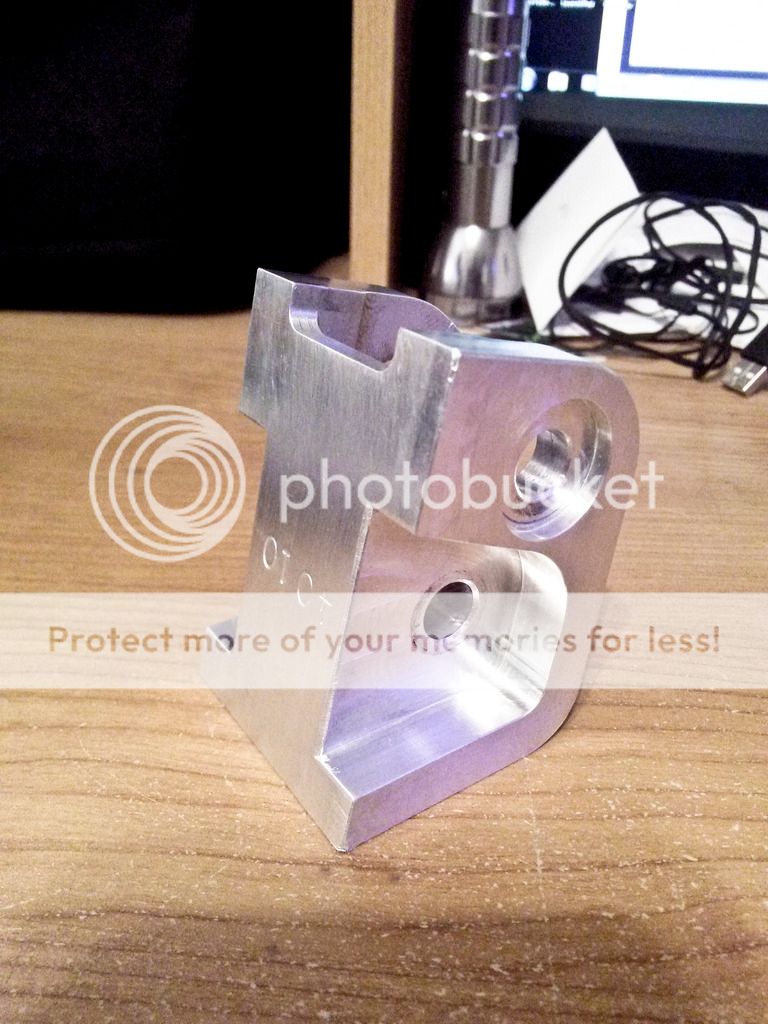
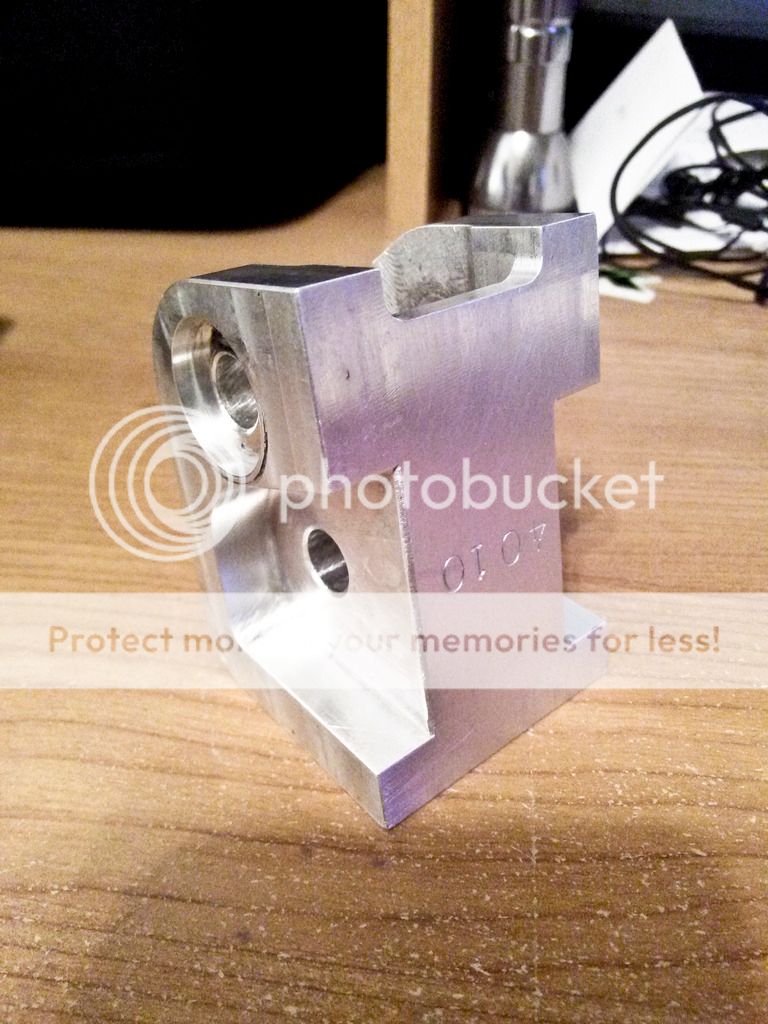
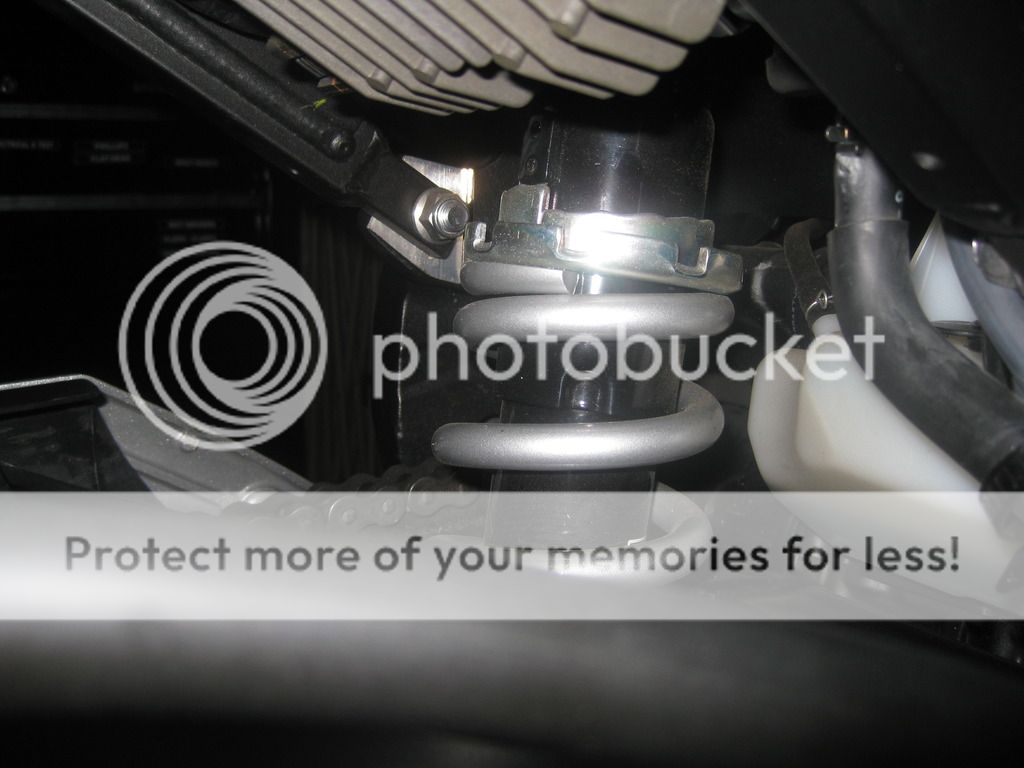
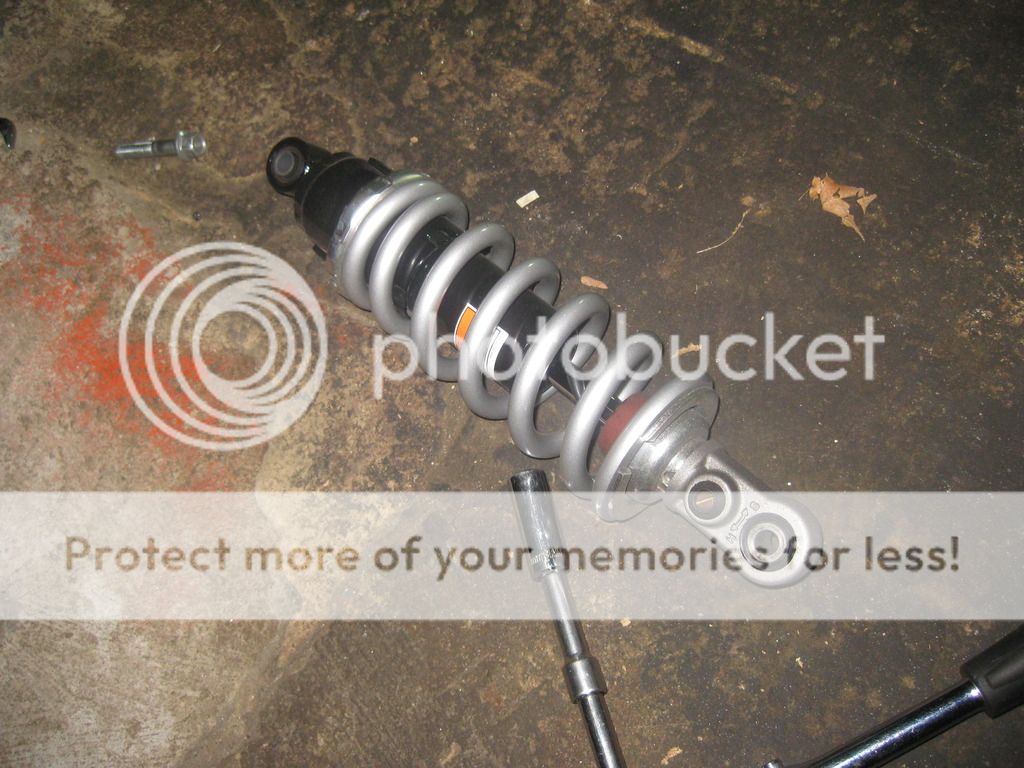
Next order of business was to install Satan's Adapter on the top perch. Just a couple of taps with a small rubber mallet and it fell right into place.
IMG_1294_zpsbchalyhd.jpg


Fastened the bolt and that was done.
IMG_1295_zpszltk7qtm.jpg


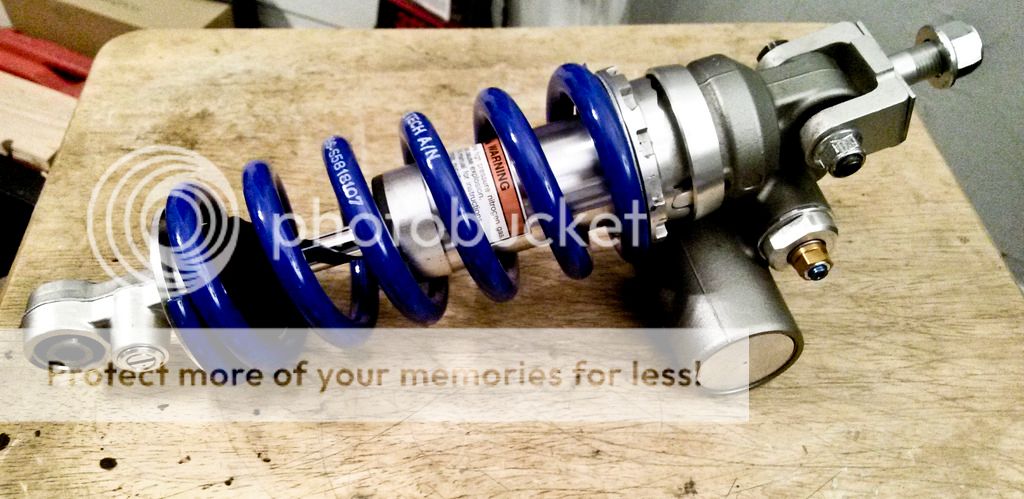
Then I mounted the R1 Shock on the Adapter and just snugged the bolt into place.
IMG_1296_zpsmdwt2dau.jpg


IMG_1297_zpskuarwyuq.jpg


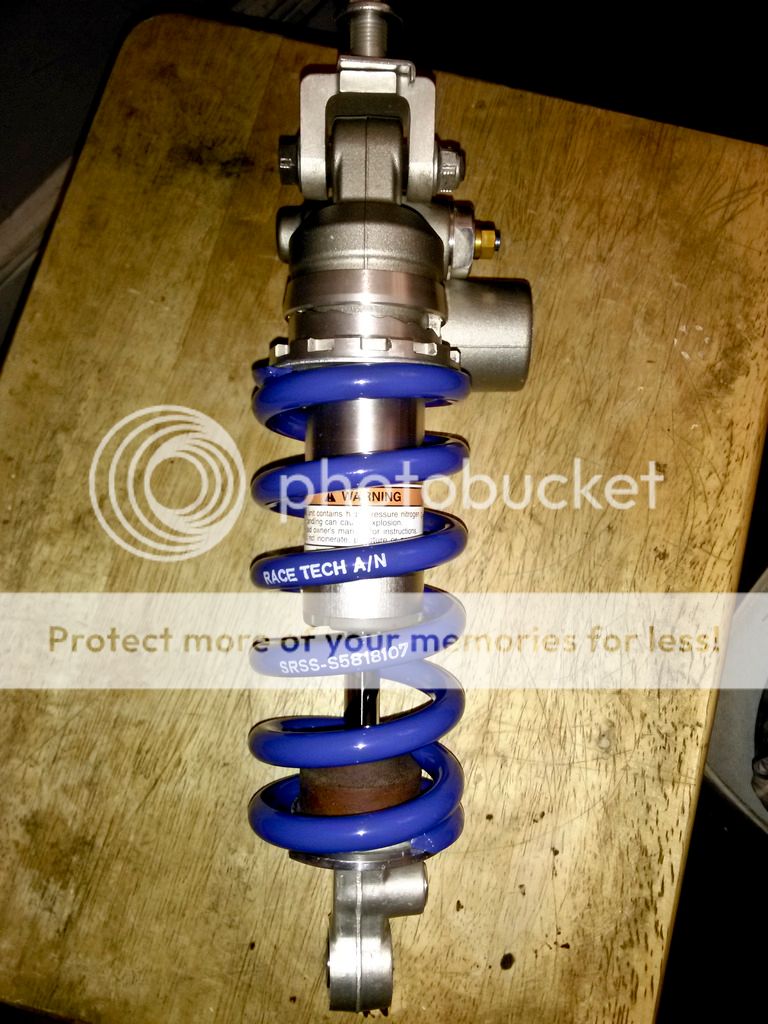
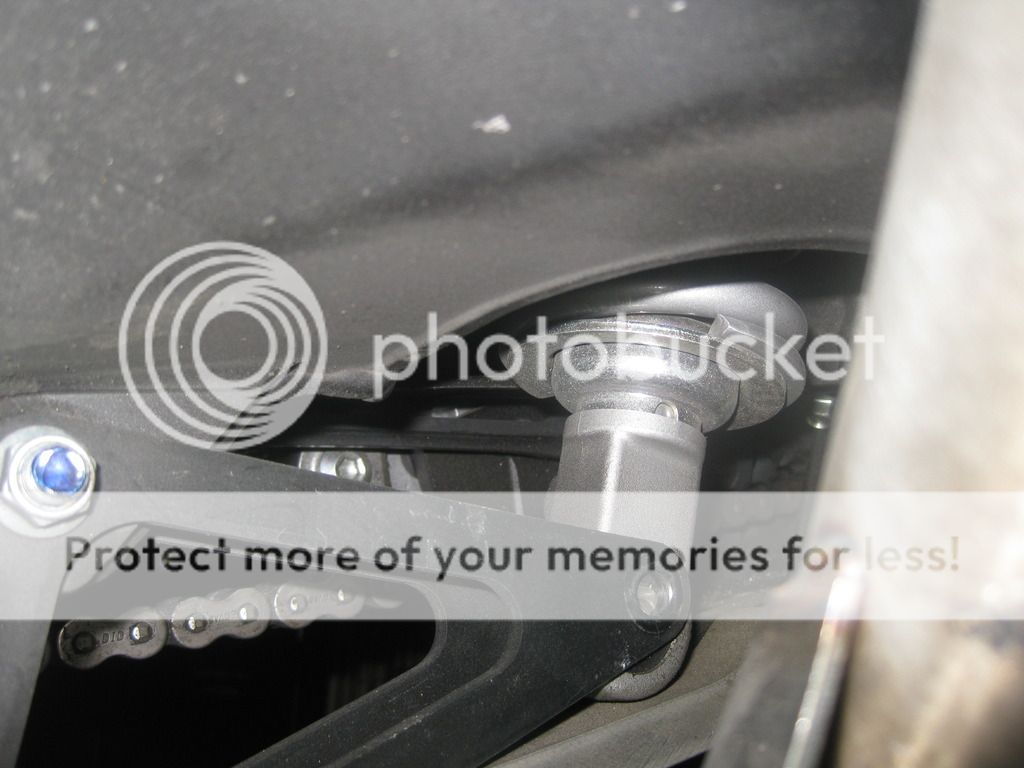
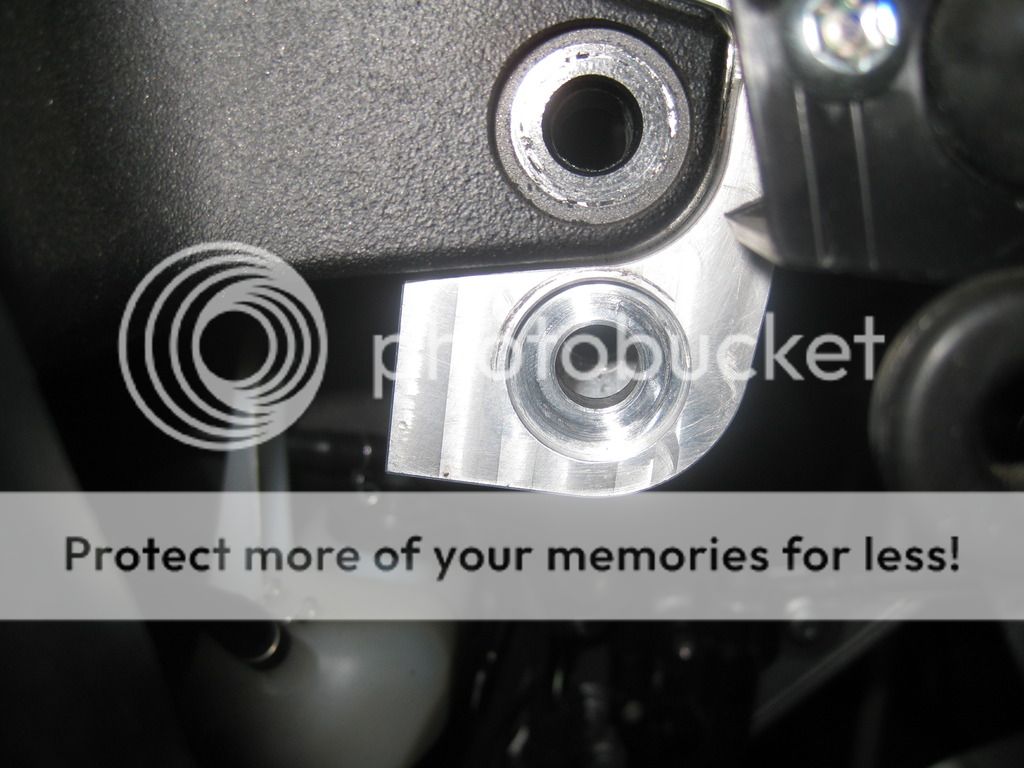
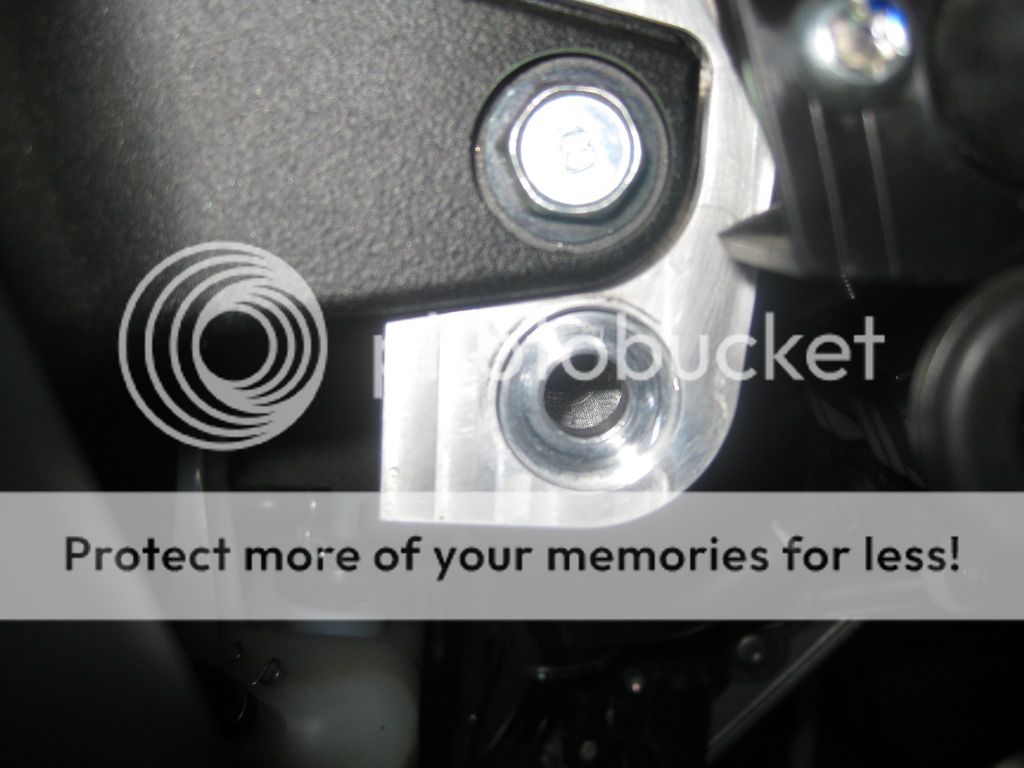
The trick to get the bottom to line up was easy. First bolt the shock at the bottom mounting point and then pull the bracket up to the mounting hole
where it will NOT be in line with the hole. Then slowly pull the wooden wedge from the back of the tire and you will see the hole line up easily. Once lined up just slide the bolt in.
IMG_1299_zpsnkrrcykb.jpg


It was a super simple job using the ratchet straps and wooden wedge. I learned this simple trick the hard way during a rebuild many moons ago when I had the tail of the bike collapse
as soon as the lower dog bone was removed. Live and learn I always say. I am running over to pick up the wheels tomorrow and then straight out to Brian's so it won't be until Monday
that I get to test her out, but at least everything is finished and ready to go. I also used existing marks on my garage door to align the headlights properly. A great tip from one of our own
here on the board! Pics of the wheels will be up tomorrow!
 
Last edited:
This is awesome with all the photos! Just over an hour to transform the bike! Awesome

Thanks Dustin. I figure that I tiny bit more time spent doing these "step by step" deals with photos will help someone else down the line. If so, then it was well worth the extra time. This was probably my 5th or 6th time doing rear shocks so it's a lot easier nowadays. What I really need is a lift. It would make my life so much easier. I may be moving soon to a place with a nice garage so if that happens a nice lift table is in my future!
 
Back
Top