FZ1riderNY
Moderator
Great writeup Blanchy!!! Ya did good buddy boy!!:yes:
The photos came out great, so, your officially a :nerd:
The photos came out great, so, your officially a :nerd:
Follow along with the video below to see how to install our site as a web app on your home screen.

Note: This feature currently requires accessing the site using the built-in Safari browser.

I was going to mention the beer thing. Thats why It took two afternoons and a Saturday. As soon as I cracked a beer I stopped working and just pondered.
I might need a few more lessons to be a nerd yet. ie I can't seem to get this thing to speel ckock on this site!Great writeup Blanchy!!! Ya did good buddy boy!!:yes:
The photos came out great, so, your officially a :nerd:
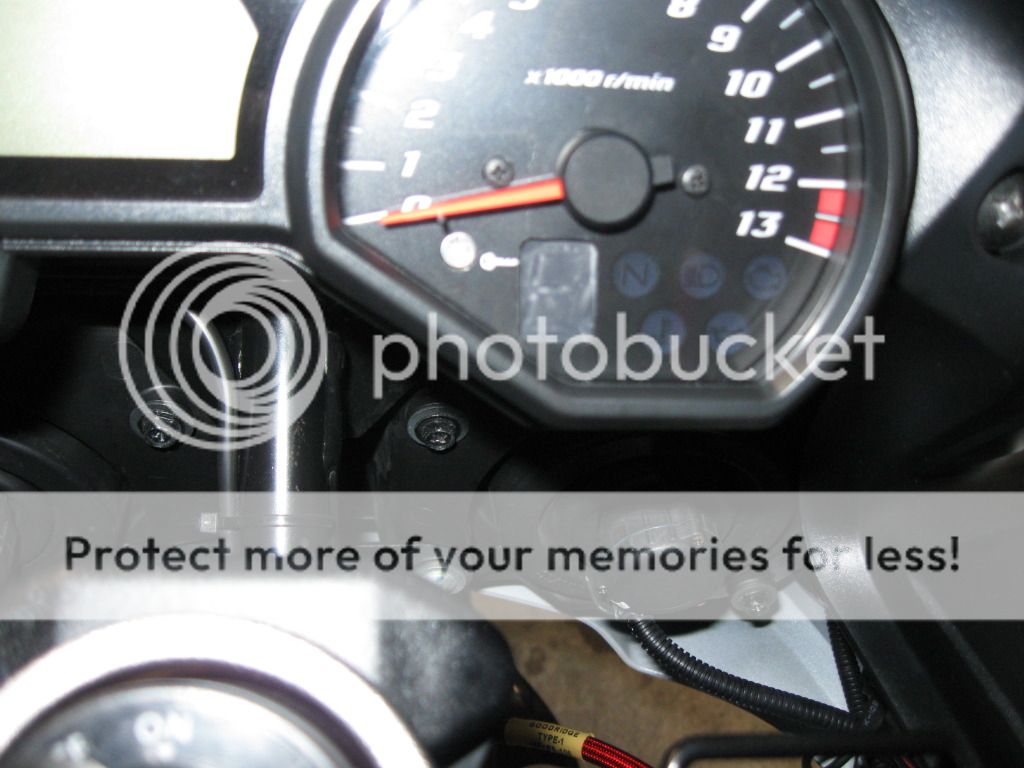
Thanks for the input. Done some editing, I will post on the OEM Facia after I have go this week. And I will post a decent Vid soon.Nice job! How about a photo of the assembled finished product and maybe a little video of it?
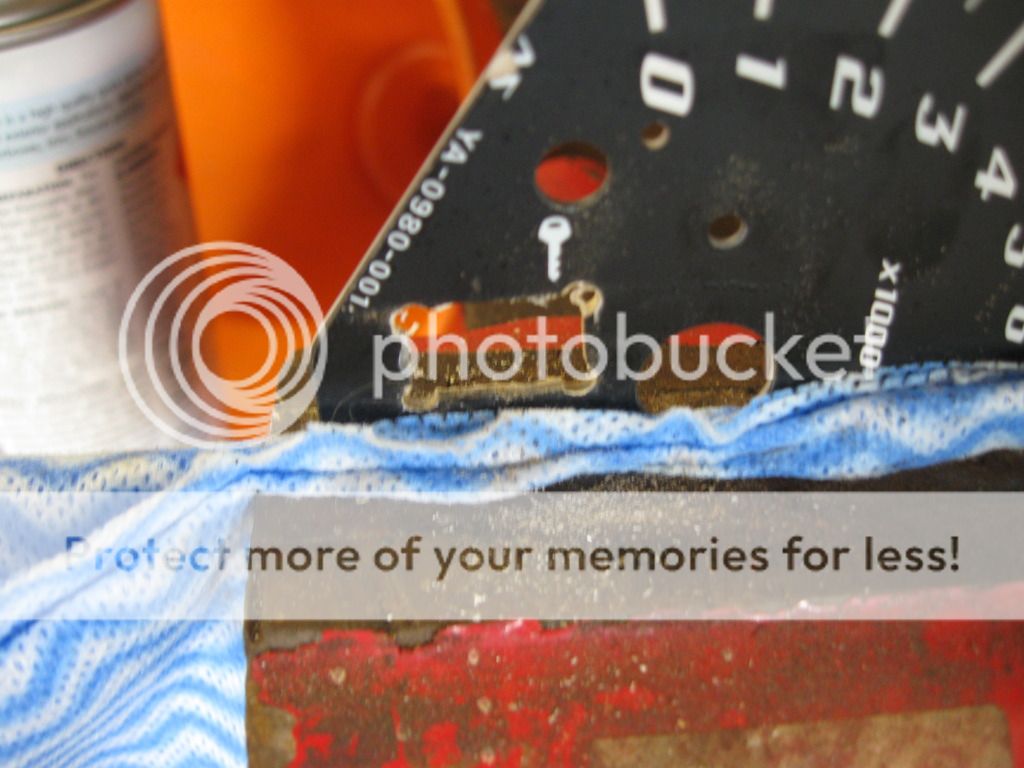
Why did you opt to cut out the facia rather then dissolve the paint to leave a windowed spot?
Thanks for the great writeup and awesome photos. :tup:
Not going to post the price please PM me or Go ahead and contact Healtech Hungary.Forgot to ask you Blanchy how much was it since they had to "custom" make it for you? I think here in the US their standard kit retails for something like $130 USD.
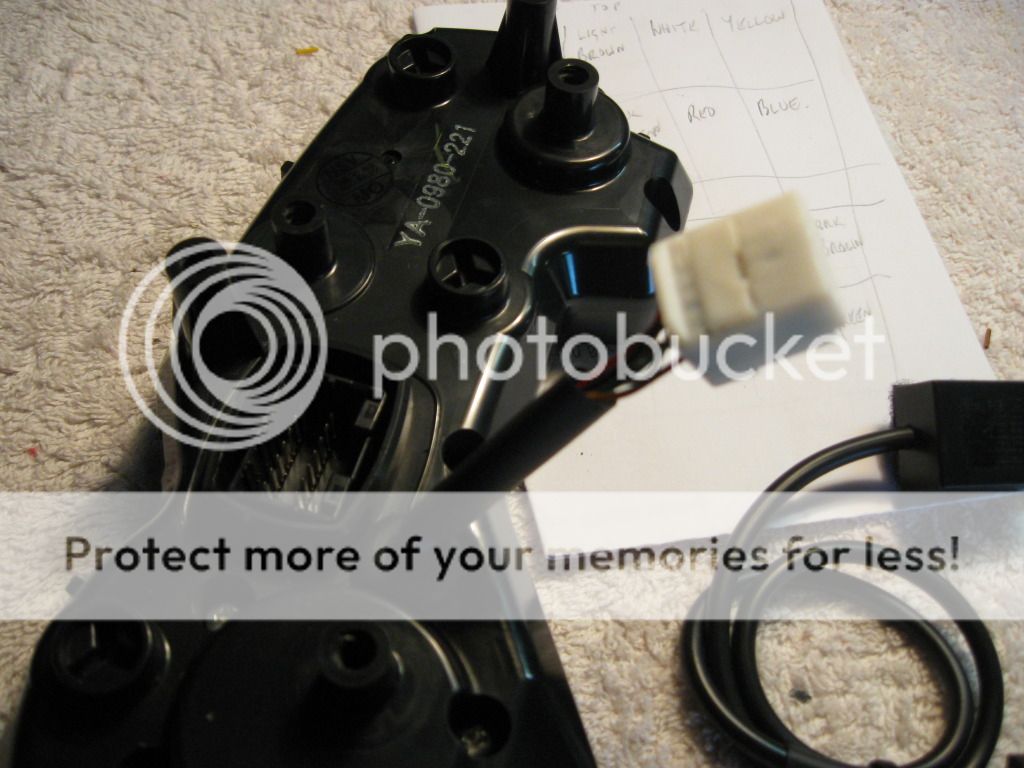
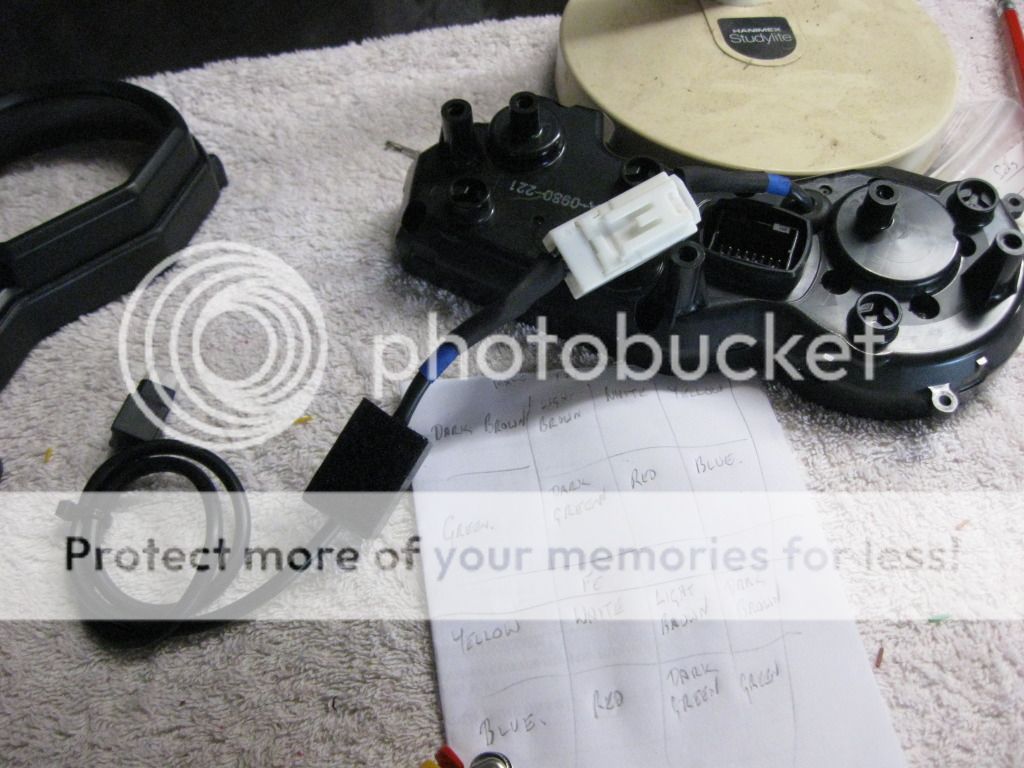
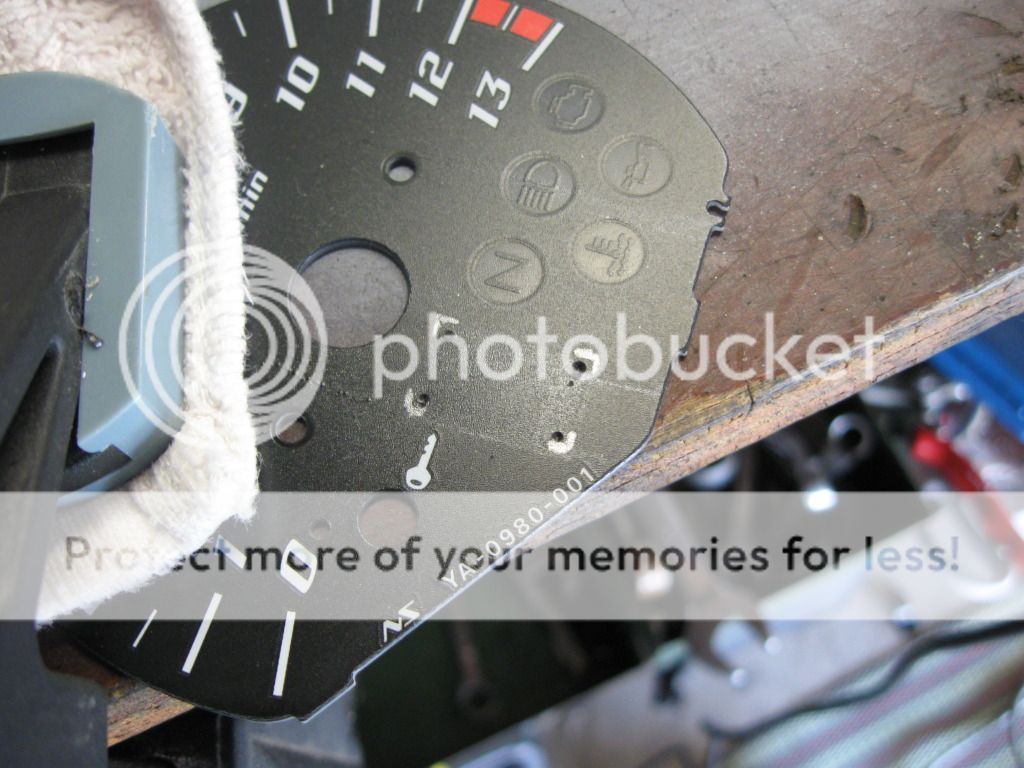
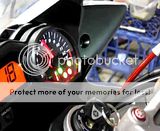
Started trying to clear the section on the OEM today. No success. Used Nail polish remover containing Acetone-No result at all. Tried a non acetone one and no result. Will get some pure acetone tomorrow but not too sure its going to work.
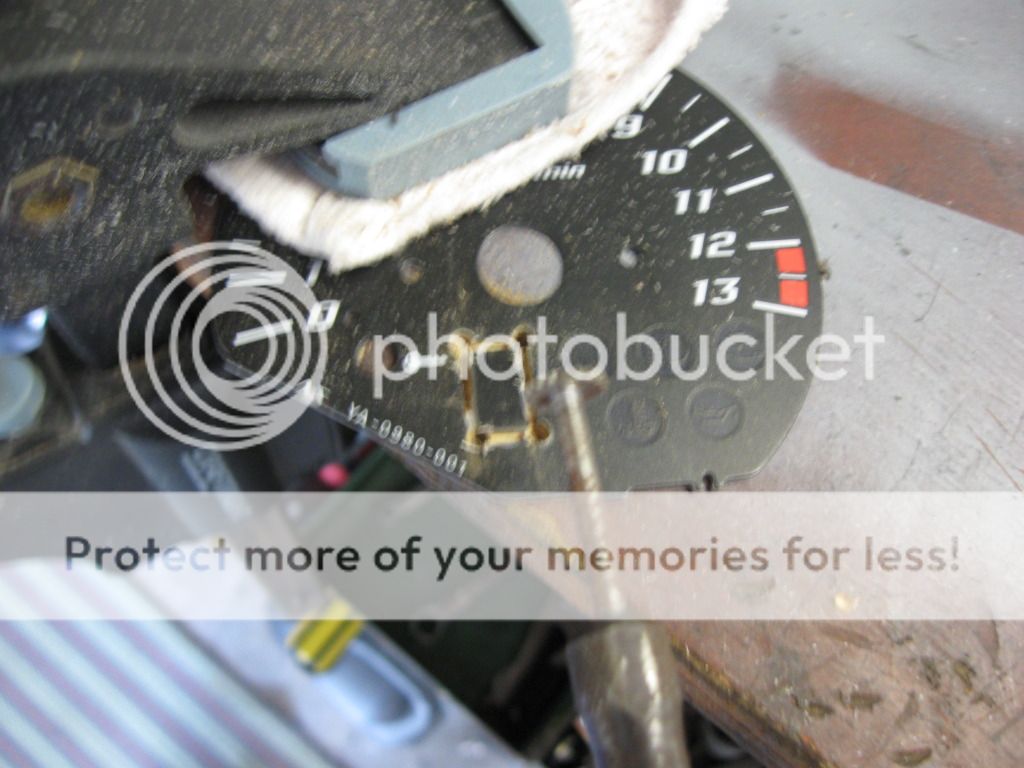
Got some Pure acetone. Still no result on the front face. Tried it on the back and it did start working but also seemed to attack the plastic. Still stuck as the front side will need clearing???
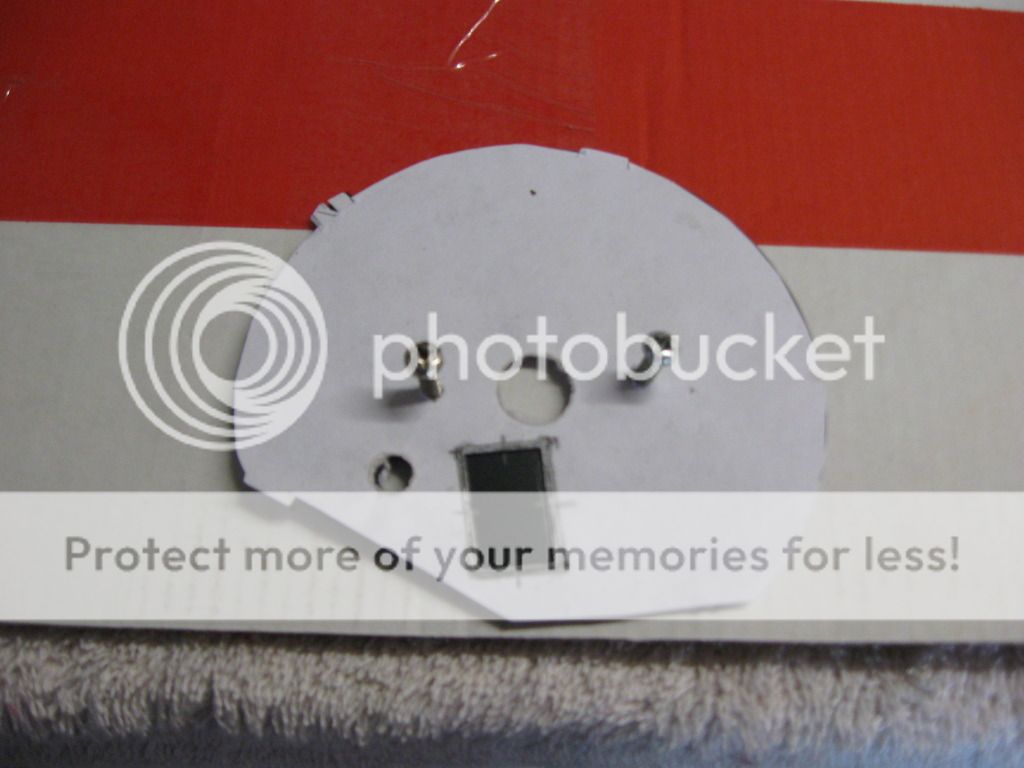
Still not beat yet but as a last reort I might do a cut out on the OEM. It's a lot more rigid and could be drilled on the corners, cut, filed to shape and the edge finished in matt black. Still thinking about a non reflective piece of plastic glued to the back side.