scottyd
Wizard
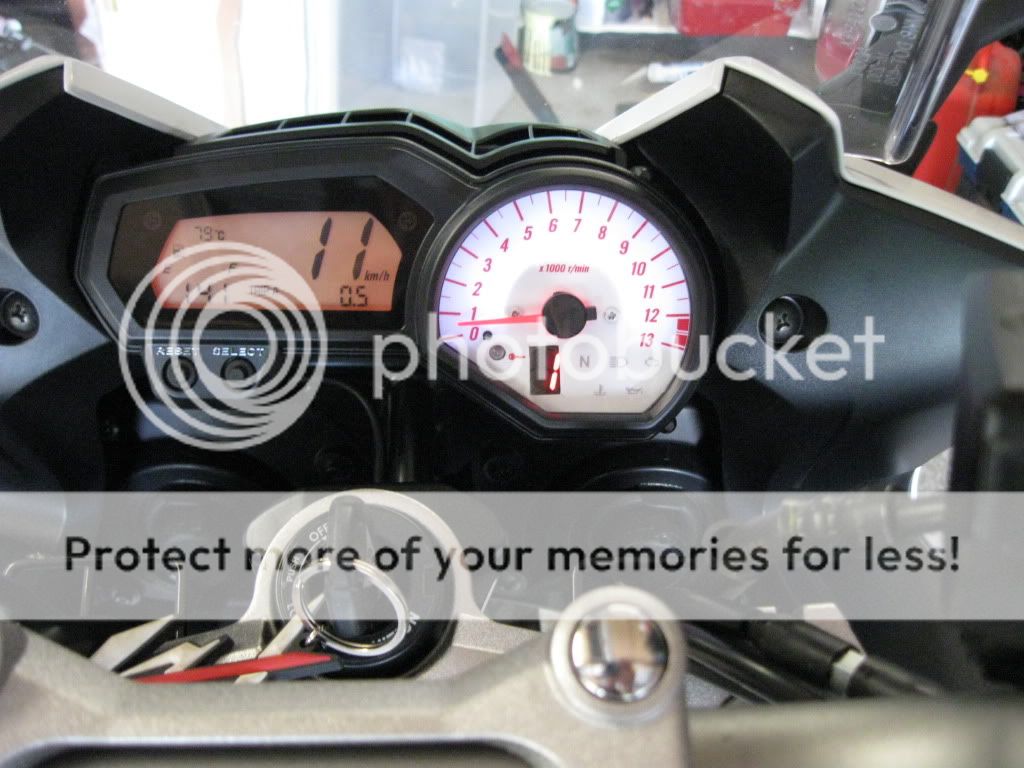
GIpro X-type gear indicator custom install Development thread....
Ok, so as the story goes we have seen a vid on youtube on how to install the GIpro X-type gear indicator into the Gen II dash.
So here is the vid:
[ame=http://www.youtube.com/watch?v=lONv-hcK32Y]BRICO: INSTALACION INDICADOR MARCHA EN VELOCIMETRO EN YAMAHA FZ6 S2.[/ame]
Now, I've typed the words on the vid into google's translator, it's a bit rough as most is litoral except for a few where I worked out that google put the translated words in the wrong order. So there may be a few with the words jumbled...
------
00:06 [this is a time stamp for you to refer back to if you loose track]
DIY
INSTALLATION OF A
GEAR INDICATOR
IN THE PANEL
YAMAHA FZ6 S2
carlosn888
------
00:12
Previous installation
------
00:24
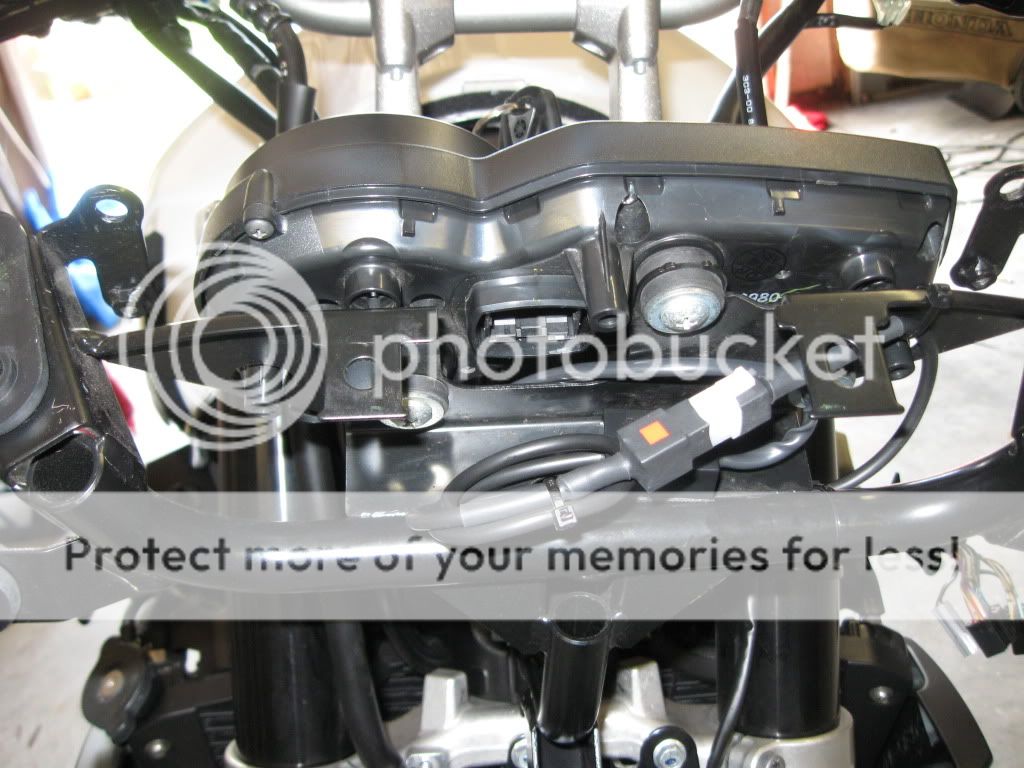
Remove 3 screws top
------
00:38
remove 3 screws from the speedometer box
------
01:00
extract connector
------
01:12
We released the speedometer
------
01:23
we take gear indicator
------
01:31
started to remove the speedometer (on a black screen)
------
01:42
remove all screws
------
01:50
top out
------
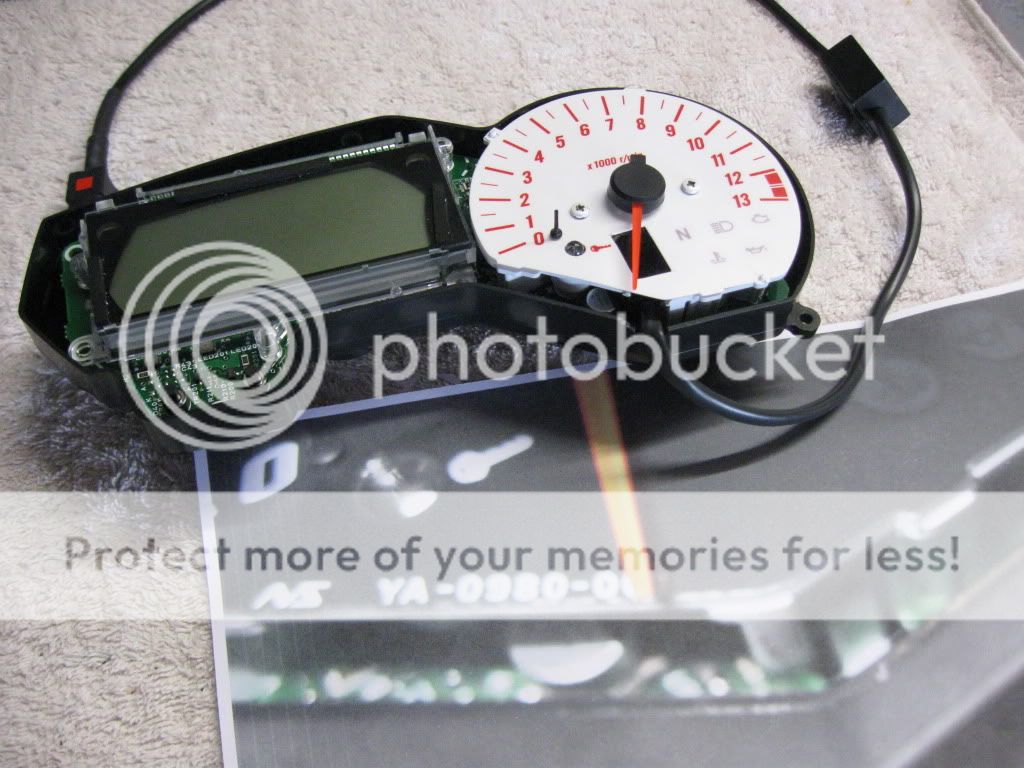
02:04
we take the circuit
------
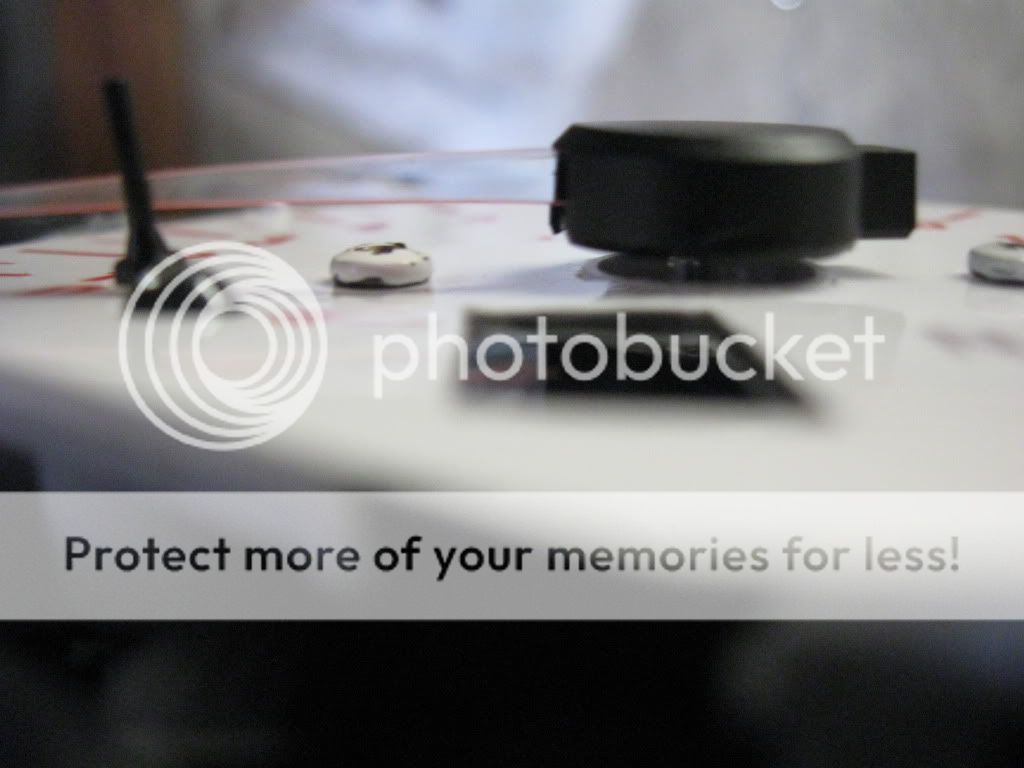
02:18
REMOVE THE NEEDLE HOLDING IT (next black screen)
by the black circle and throw up strong (i think it means pull up hard)
------
02:35
the 2 screws out
------
02:43
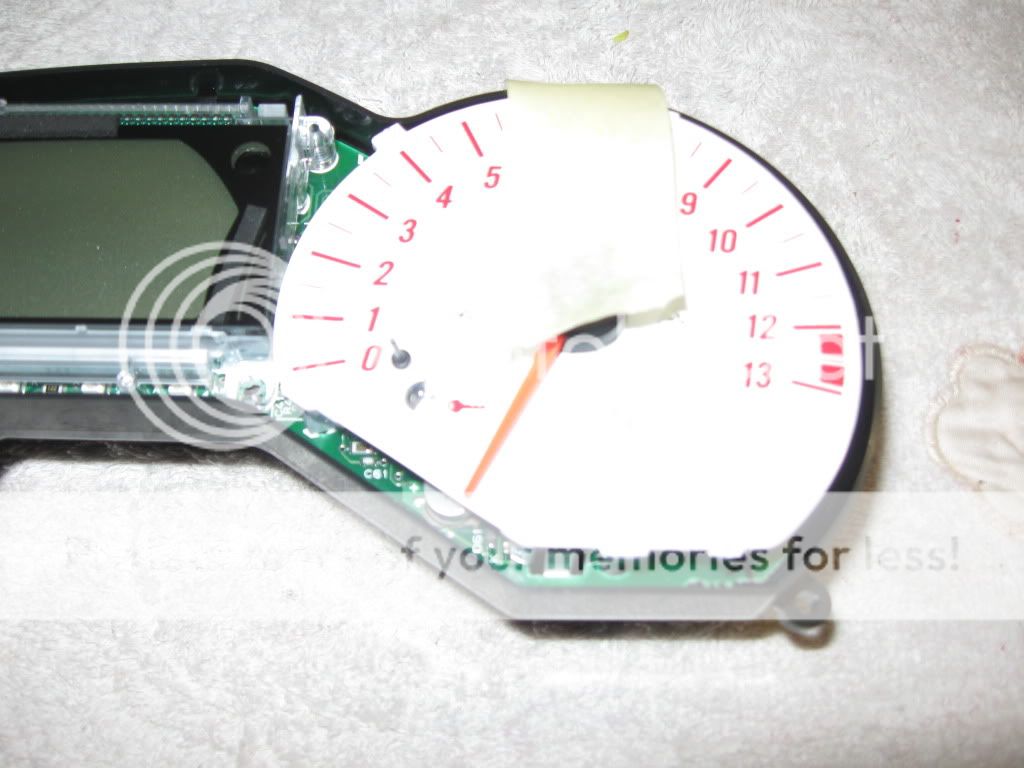
now work with numerical cap (the tacho dial)
------
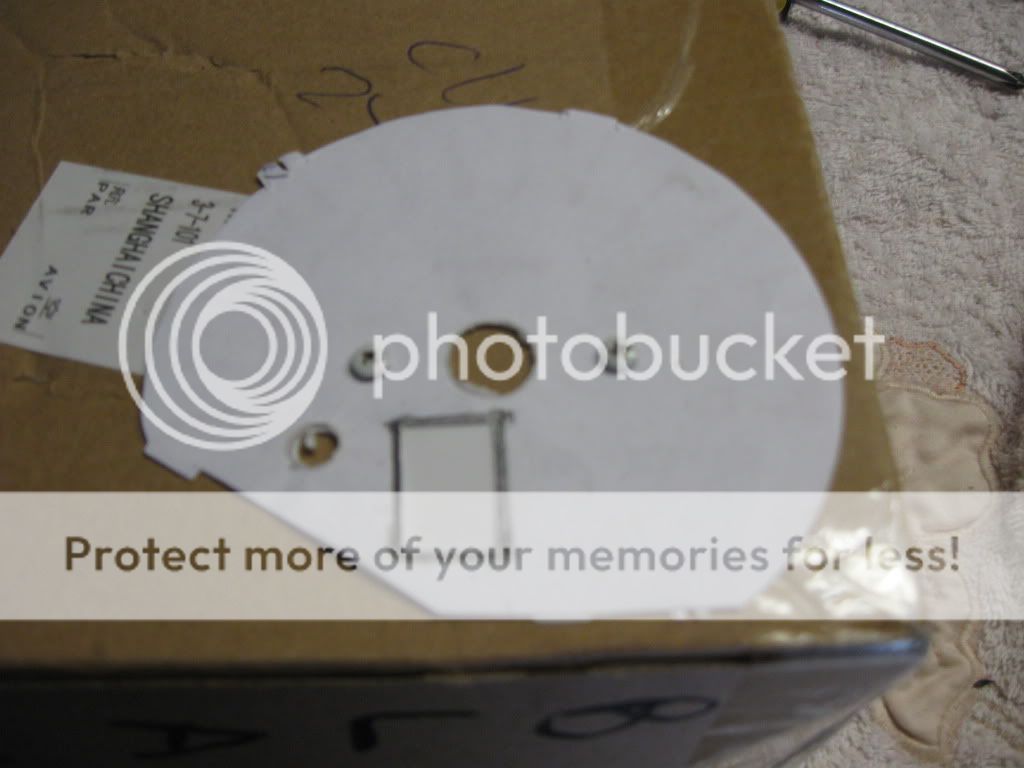
02:57
MAKE A COPY OF THE SAME SIZE AS THE PROGRESS INDICATOR (refers to the gear indicator)(next black screen)
paper tape (use masking tape)
------
03:14
WHERE WE DO MARK HOLE FOR INDICATOR (next black screen)
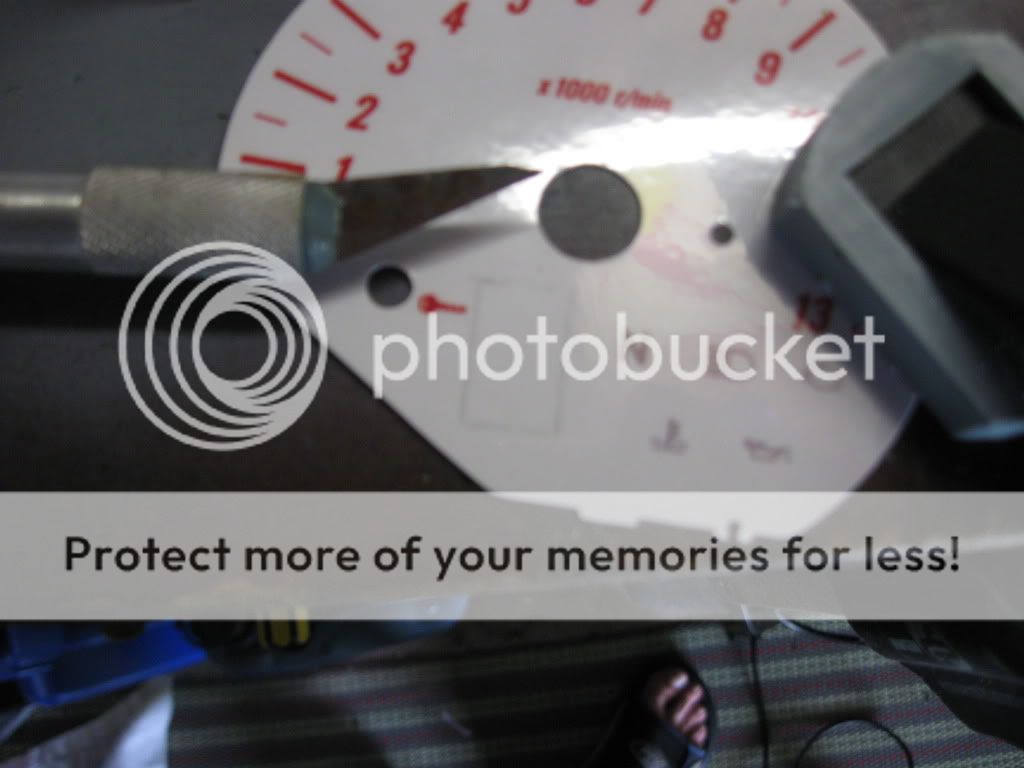
------
03:30
We stress BLADE WITH PAPER TEMPLATE (next black screen)
AND NOW WE CAN REMOVE
------
03:47
PUT TAPE BLADE MARKED AS
------
03:59
WITH A COTTON SWAB AND NAIL POLISH REMOVING PAINT WE
------
04:10
USE TAPE
RIGHT TO THE
VERTICES (edge maybe?)
------
04:27
WE HAVE ALREADY AHEAD
------
04:38
THE SAME OPERATION FOR
BACK
------
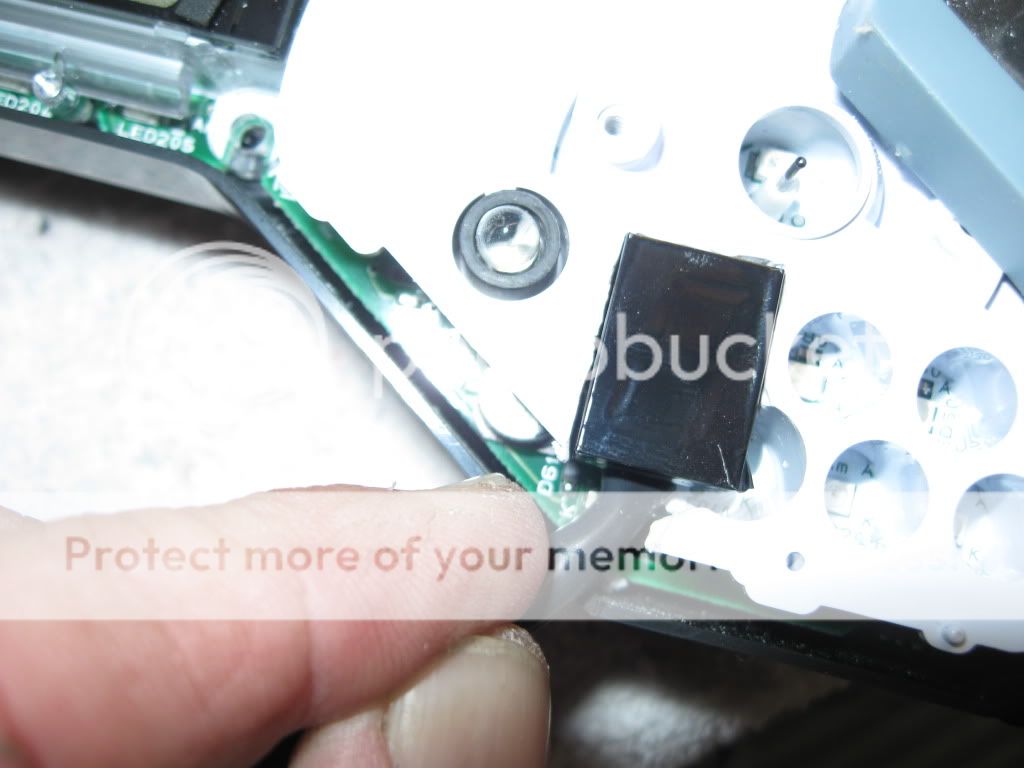
04:49
TOP AFFIX (NEXT BLACK SCREEN)
NUMERICAL, SPEEDOMETER
WELL WHERE AND FOUND
WILL MAKE THE HOLLOW
MARKING
------
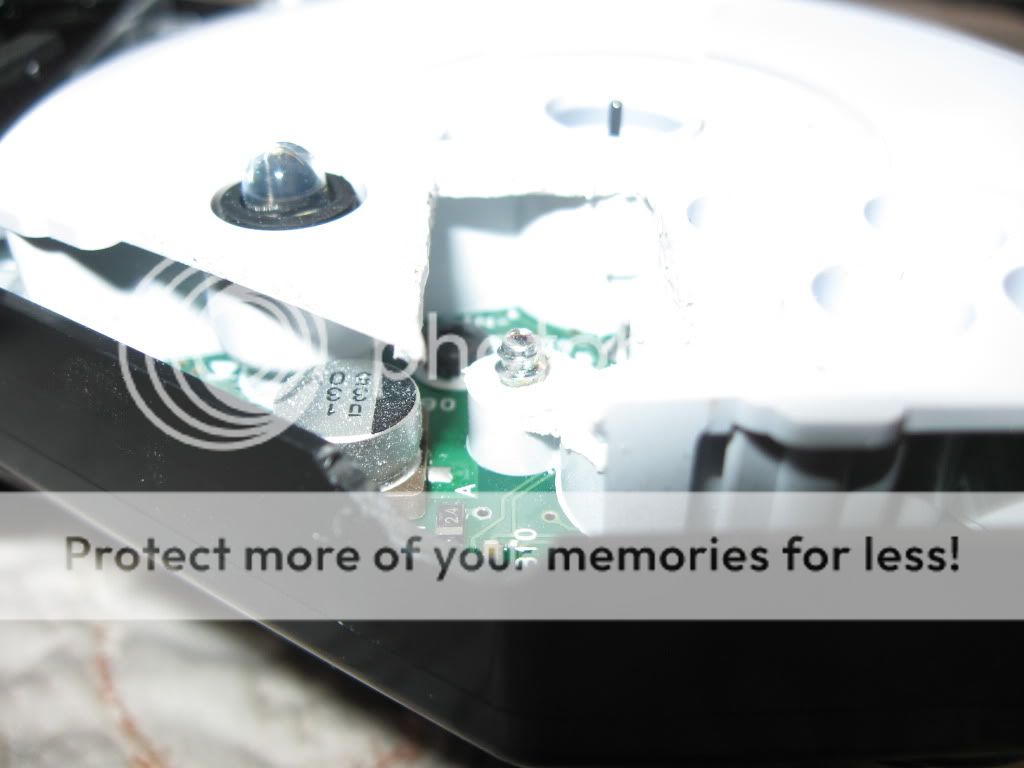
05:12
WE USE A DREMEL SURPLUS TO CUT PLASTIC
------
05:36
WE HAVE THE HOLLOW
------
05:47
DESOLDERING THE 10 INDICATOR PINS
------
05:59
LENGTHENED WITH WIRE 20CM.
------
06:20
WE CLEAR TAPE DOUBLE SIDED ON THE SCREEN
------
06:39
WE STUCK IN PLACE
------
07:06
WE PLACE NUMBERING IN THE SPEEDOMETER
------
07:26
SCREWED DOWN
------
07:36
PUT THE NEEDLE
------
07:47
PRINTED CIRCUIT STICK SIDED TAPE (tape the pcb down)
------
08:42
WE PUT ALL SCREWS
------
09:15
INTRODUCE CONNECTOR TO SPEEDOMETER THE MOTORCYCLE
------
09:28
BECOME PUT THE SCREWS IN SUPPORT
------
09:38
AND FINALLY THE TOP
------
09:48
WORK COMPLETED
WATCH VIDEO OF OPERATION
IN YOUTUBE
SEARCH IN: CARLOSN888
------
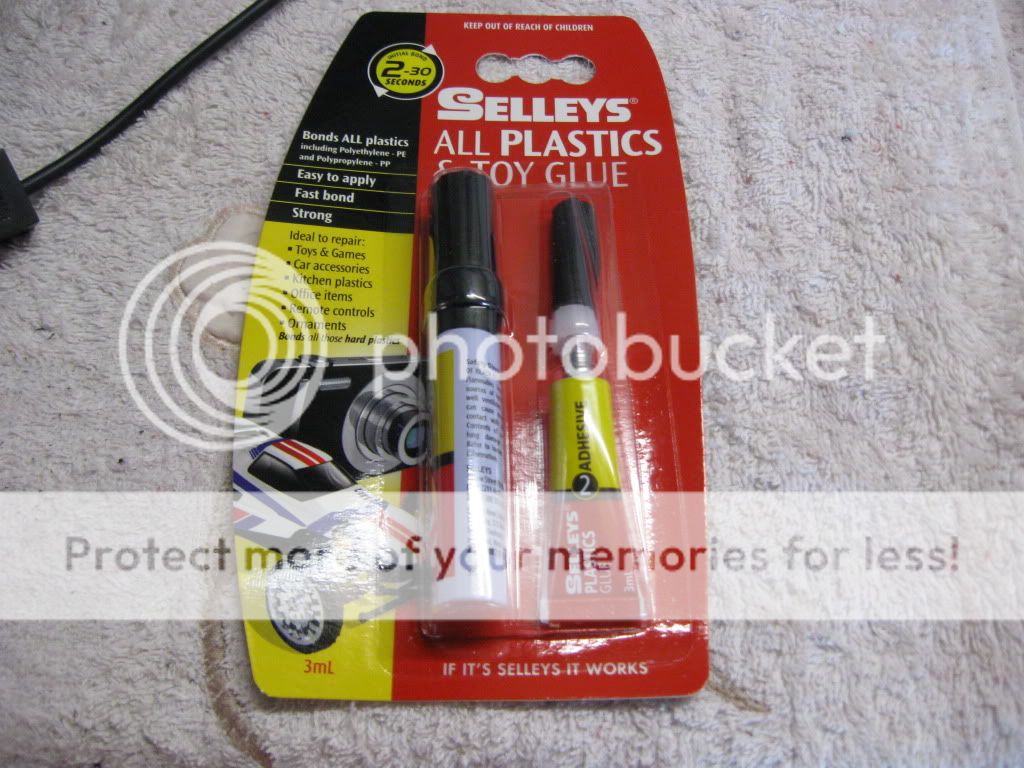
So to answer Blanchy's question on what chemical to use on the dash facia, they say to use nail polish remover, which is just Acetone.
I would try a bit on the back and make sure the acetone is not too strong and is only going to take the paint off and not melt or deform the plastic dash panel first.
Ok, so as the story goes we have seen a vid on youtube on how to install the GIpro X-type gear indicator into the Gen II dash.
So here is the vid:
[ame=http://www.youtube.com/watch?v=lONv-hcK32Y]BRICO: INSTALACION INDICADOR MARCHA EN VELOCIMETRO EN YAMAHA FZ6 S2.[/ame]
Now, I've typed the words on the vid into google's translator, it's a bit rough as most is litoral except for a few where I worked out that google put the translated words in the wrong order. So there may be a few with the words jumbled...
------
00:06 [this is a time stamp for you to refer back to if you loose track]
DIY
INSTALLATION OF A
GEAR INDICATOR
IN THE PANEL
YAMAHA FZ6 S2
carlosn888
------
00:12
Previous installation
------
00:24
Remove 3 screws top
------
00:38
remove 3 screws from the speedometer box
------
01:00
extract connector
------
01:12
We released the speedometer
------
01:23
we take gear indicator
------
01:31
started to remove the speedometer (on a black screen)
------
01:42
remove all screws
------
01:50
top out
------
02:04
we take the circuit
------
02:18
REMOVE THE NEEDLE HOLDING IT (next black screen)
by the black circle and throw up strong (i think it means pull up hard)
------
02:35
the 2 screws out
------
02:43
now work with numerical cap (the tacho dial)
------
02:57
MAKE A COPY OF THE SAME SIZE AS THE PROGRESS INDICATOR (refers to the gear indicator)(next black screen)
paper tape (use masking tape)
------
03:14
WHERE WE DO MARK HOLE FOR INDICATOR (next black screen)
------
03:30
We stress BLADE WITH PAPER TEMPLATE (next black screen)
AND NOW WE CAN REMOVE
------
03:47
PUT TAPE BLADE MARKED AS
------
03:59
WITH A COTTON SWAB AND NAIL POLISH REMOVING PAINT WE
------
04:10
USE TAPE
RIGHT TO THE
VERTICES (edge maybe?)
------
04:27
WE HAVE ALREADY AHEAD
------
04:38
THE SAME OPERATION FOR
BACK
------
04:49
TOP AFFIX (NEXT BLACK SCREEN)
NUMERICAL, SPEEDOMETER
WELL WHERE AND FOUND
WILL MAKE THE HOLLOW
MARKING
------
05:12
WE USE A DREMEL SURPLUS TO CUT PLASTIC
------
05:36
WE HAVE THE HOLLOW
------
05:47
DESOLDERING THE 10 INDICATOR PINS
------
05:59
LENGTHENED WITH WIRE 20CM.
------
06:20
WE CLEAR TAPE DOUBLE SIDED ON THE SCREEN
------
06:39
WE STUCK IN PLACE
------
07:06
WE PLACE NUMBERING IN THE SPEEDOMETER
------
07:26
SCREWED DOWN
------
07:36
PUT THE NEEDLE
------
07:47
PRINTED CIRCUIT STICK SIDED TAPE (tape the pcb down)
------
08:42
WE PUT ALL SCREWS
------
09:15
INTRODUCE CONNECTOR TO SPEEDOMETER THE MOTORCYCLE
------
09:28
BECOME PUT THE SCREWS IN SUPPORT
------
09:38
AND FINALLY THE TOP
------
09:48
WORK COMPLETED
WATCH VIDEO OF OPERATION
IN YOUTUBE
SEARCH IN: CARLOSN888
------
So to answer Blanchy's question on what chemical to use on the dash facia, they say to use nail polish remover, which is just Acetone.
I would try a bit on the back and make sure the acetone is not too strong and is only going to take the paint off and not melt or deform the plastic dash panel first.
Last edited: