pilot8127
Wizard
RE: Pics of the repairs/upgrades
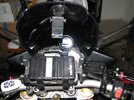
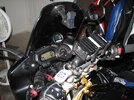
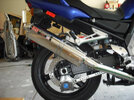
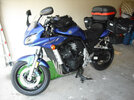
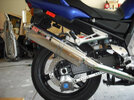
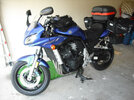
OK-Guys, , , Here are the pics of the replacement parts (that I have installed to-date), and, the mods that I promised to post. I am still waiting on the (new) Black front cowling, and the left side engine cover, along with the GRAVES flushmounts. The pics show the new bar-ends, the new frame sliders, the new LED (DOT) rear turn signals, the paint prep and repainting of the left side of the fuel tank and the repairs to the left side of the tail-section. ( I went cheap and used Rustoleum Gloss-Black. The scratches and dents were small, and, as they were pretty minor, and I was able to blend them in pretty well. I used alot of 2000G wet/dry sanding, alot of rubbing compound and alot of cleaner/wax under the buffer. )
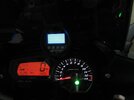
I also took some picks of the pod mod installation too-(works great, thanks guys!) I even added an extra pig-tail to each pod-install. I will hook up a seperate set of bright- LED indicator(s) on the inner fairings (out wide), that will blink with the flushmount turn signals. This will hopefully help me to remember to turn off the signal, after completing my turn ! ( I know there is a beeper-mod for this, but this is just so easy , , ,)
I also took some pics of my garage door opener-(12V) that is now hard wired to the vehicle battery, and, connected to the horn spades. That way, as I approach the garage, I beep the horn, and the door goes up (or down)! I located it under the fuel tank and it works real well. ( Note: I had it installed on my Yamaha R1 until I sold it, now it's on the FZ1 ! )
My road rash is almost gone. And, the knee is healing quickly now.
Now, where are my missing parts. . . . .


