
impster
Member
Today's project was installing a set of SW-MOTECH Quick-Lock EVO Sidecarriers and a pair of Givi E22 cases.
The install was painless until I got to the center mount that goes on top of the rear fender.
Tips to help make this easier for others:
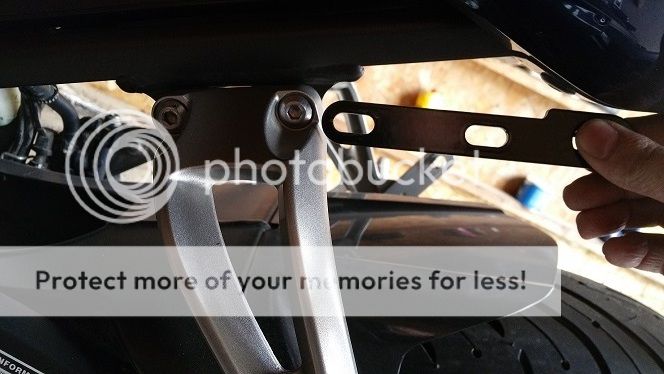
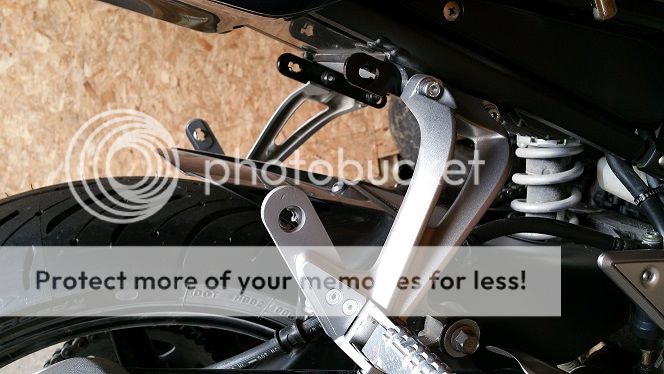
Pic #1: Note the oblong holes. Tighten these after mounting the carriers.
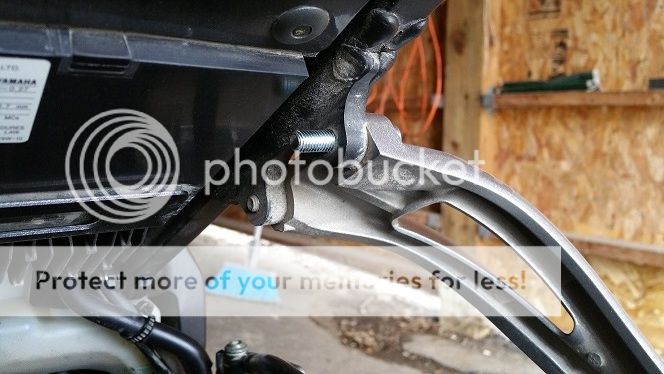
Pic #2: The upper footpeg mount is supplied with longer bolts. They hold the peg bracket on the bike and extend beyond to attach the carrier mount.
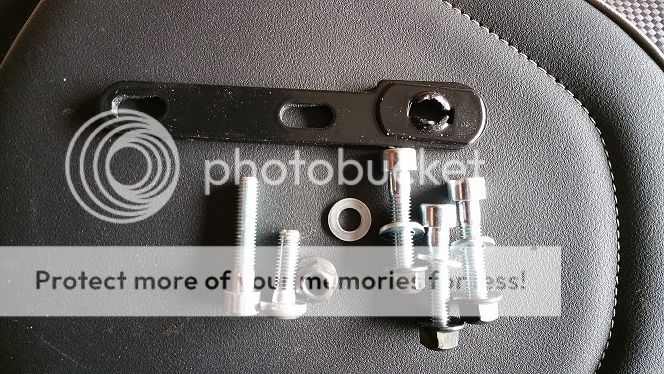
Pic #3: Stock upper mount bolt vs. supplied bolt.
Pic #4: Lower footpeg mount. Use blue (temporary) Loctite here.
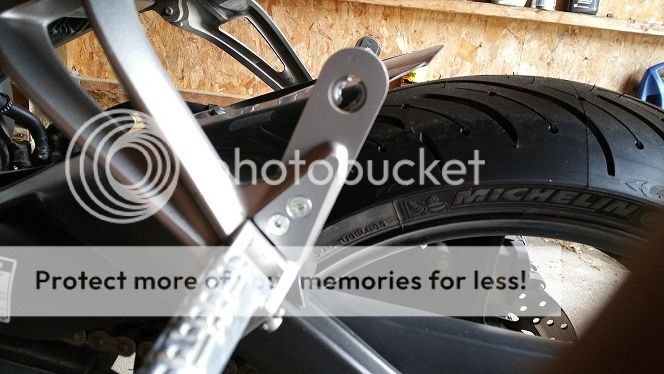
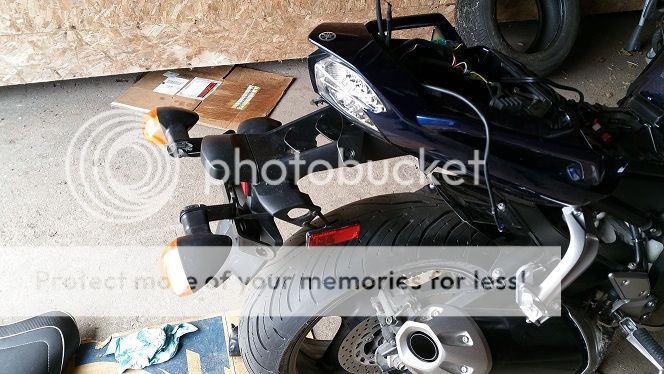
Pic #5: Front, upper and lower, mounts in place.
Pic #6: Rear Mounts in place. No pics of installation as I was tired and frustrated. See note #3, above.
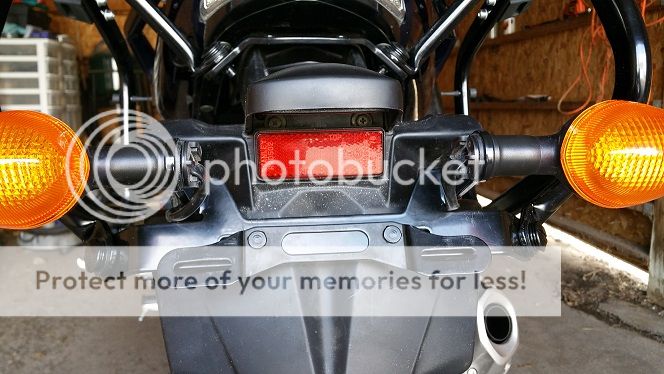
Pic #7: OEM license plate holder flipped and used to hold rear mount. Use blue (temporary) Loctite here.
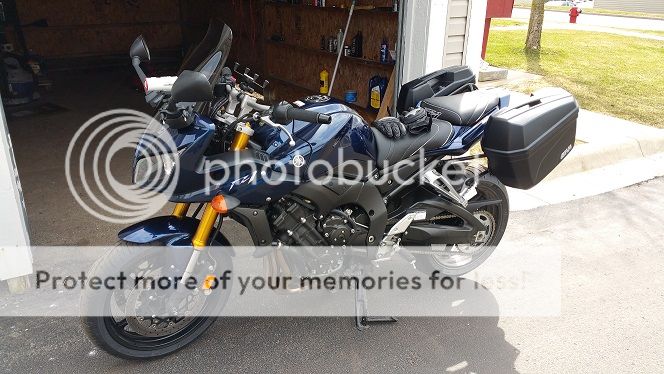
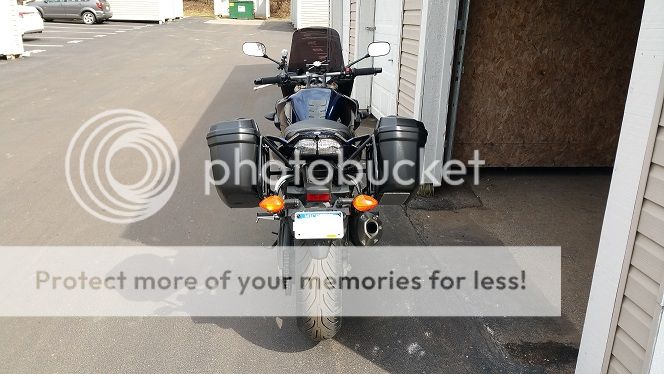
Pic #8: Givi E22 cases mounted... finally!
The install was painless until I got to the center mount that goes on top of the rear fender.
Tips to help make this easier for others:
- Tighten the mounts on top of the foot pegs last, after you mount the detachable carriers. These mounts have oblong holes and there is no way to know where they go until near the end.
- The screws for the lower mounts, near passenger peg, are soft. Use caution and a well fitting bit. Use blue (temporary) Loctite here.
- The rubber spacers that go between the mount and rear tray slip on to the protruding tubes before assembly. This caused a large amount of pain, trying to line things up, until I found this out. Put the spacers on the bolt tubes on the bike, thread wires, lift the fender into place and thread in the bolts from above.
- You have to remove the license plate holder from the fender. This was not obvious from the instructions.
- For the rear license plate mount, don't use the supplied bolts and nuts to attach it as there will be nowhere to mount your plate without drilling. Instead, rotate the OEM bracket 180 degrees and use the bolts attached to it to secure the rear mounting point. Use blue (temporary) Loctite here.
Pic #1: Note the oblong holes. Tighten these after mounting the carriers.
Pic #2: The upper footpeg mount is supplied with longer bolts. They hold the peg bracket on the bike and extend beyond to attach the carrier mount.
Pic #3: Stock upper mount bolt vs. supplied bolt.
Pic #4: Lower footpeg mount. Use blue (temporary) Loctite here.
Pic #5: Front, upper and lower, mounts in place.
Pic #6: Rear Mounts in place. No pics of installation as I was tired and frustrated. See note #3, above.
Pic #7: OEM license plate holder flipped and used to hold rear mount. Use blue (temporary) Loctite here.
Pic #8: Givi E22 cases mounted... finally!
Last edited: